Pages

Scrap Wood Stocking Hangers

Sunday, December 10, 2017


I never knew the comfort of sitting by the fireplace around the holidays until I moved to Connecticut. One thing our fireplace is missing is a mantle, which means there’s nowhere to hang our stocking with care!
I made stocking hangers so we can display our son’s stocking this year!


My inspiration came from this post. Instead of using pictures, I used dresser drawer knobs. I cut two scrap pieces of wood (5 inches each) and assembled the top to the base with two pocket holes using my kreg jig. I painted the pieces white and drilled a hole for the knob.


 Time to shop for stocking stuffers!

Footprint Christmas Ornament

Sunday, December 3, 2017

Christmas gifts for our family this year will be footprint ornaments. I came across this idea on Pinterest from this mommy blogger.
 

I drew inspiration from her ornament and combined it with my love of wood working. You don’t have to have a lot of tools for this project, just a baby and a lot of patience.

I used scrap wood for this project and just guestimated the size of the wood I would need based on my son’s foot size. I drilled a hole through the top of the wood and stained them in Special Walnut by Minwax.


I painted my son’s foot with acrylic paint and stamped it onto one side.

 
After it dried I turned it over and wrote a message using a paint pen.


 A piece of ribbon is all I needed to finish and decorate the tree!
Right next to a picture of his daddy on his first Christmas!

Tips for this project:
1.       Paint your infant’s foot while he or she is sleeping or eating. I first attempted this project while my 3 week old son was alert and awake and he was not happy with me. A lot of wiggling and moving caused blurry footprints. While he eats his body goes limp which made it was easier for me to use his foot to stamp the wood.
 
2. Put your baby in an outfit with the feet exposed. I used a sleeper and pulled it up a little so the rest of his body was warm.
 

3.  Don’t overdo it on the paint. The more paint I used, the sloppier the footprint.
4.       Have some wet wipes handy and get in between the toes during clean up.

Here's the Christmas elf himself!

 
Thank you to ITZE Photography for the beautiful photos.


Antique Chair Recover

Sunday, November 26, 2017


This chair has been in my family for over 100 years.


It originally belonged to my great-great-grandmother who emigrated from Germany to New York. The chair was eventually passed down to my grandmother and now to me. Growing up, my grandparents lived with us and I remember this chair sitting in my grandmother’s room.

 She had the chair recovered in the floral fabric you see here, very early 90s.


To update the chair a bit I knew I needed new fabric. I bought two yards of upholstery fabric.
First I cut the current fabric to get it off the cushion. My intent was to take out all of the staples using pliers. That worked for some staples but many were rusted and stuck so I ended up tearing the fabric (which was much quicker).

 
Then I inspected the cushion and batting. I honestly expected it to be in better condition but after being in storage who knows what kind of water damage it may have gone through.


This meant I needed to buy a new cushion and batting. After I cut it to fit all I had to do was position the fabric and staple it in place.


At first I wanted to paint or stain the wood but I knew someone would kill me if I didn’t keep the original wood on this antique. It just needed a good cleaning and polish!


How to Reuse your Pie Stand as Home Decor

Friday, November 24, 2017

Since it’s the day after Thanksgiving, it’s officially Christmastime. After my baby shower I was left with three pie stands. If you’re wondering how you can use your pie stand year round to decorate your home rather than let it collect dust or take up storage space: here’s how you can reuse your pie stand as a centerpiece.
1.      Choose a color scheme for your centerpiece
2.       Buy candles of different heights and colors within your color scheme
3.       Assemble your candles
4.       Allow the scents to permeate your home (we are enjoying a mix of pine and cinnamon)


One Sewing Hack You Need to Know

Monday, November 13, 2017

I don’t know about you, but in our family we keep sentimental t-shirts for way too long. I’m talking about dance recital t-shirts from when I was 7 years old, or my husband’s football t-shirts from high school. The t-shirts I used for these nursery projects were especially important because we used t-shirts that belonged to my husband’s late mother. Since his room is space themed and my husband’s mother worked at The Space Center in Cape Canaveral, FL, we knew they would be a perfect fit for his nursery.
My mom took the time to make the quilt for me while she waited for my son’s arrival. To try this on your own you will need t-shirts, border fabric, and quilt batting.
So the one sewing hack you need to know is….. buy a used bed mat for quilt batting! We paid $4 for a nice, full sized bed mat from a thrift store. Not only will you save money, you can get a good quality bed mat to make a comfy quilt (better than a lot of quilt batting).


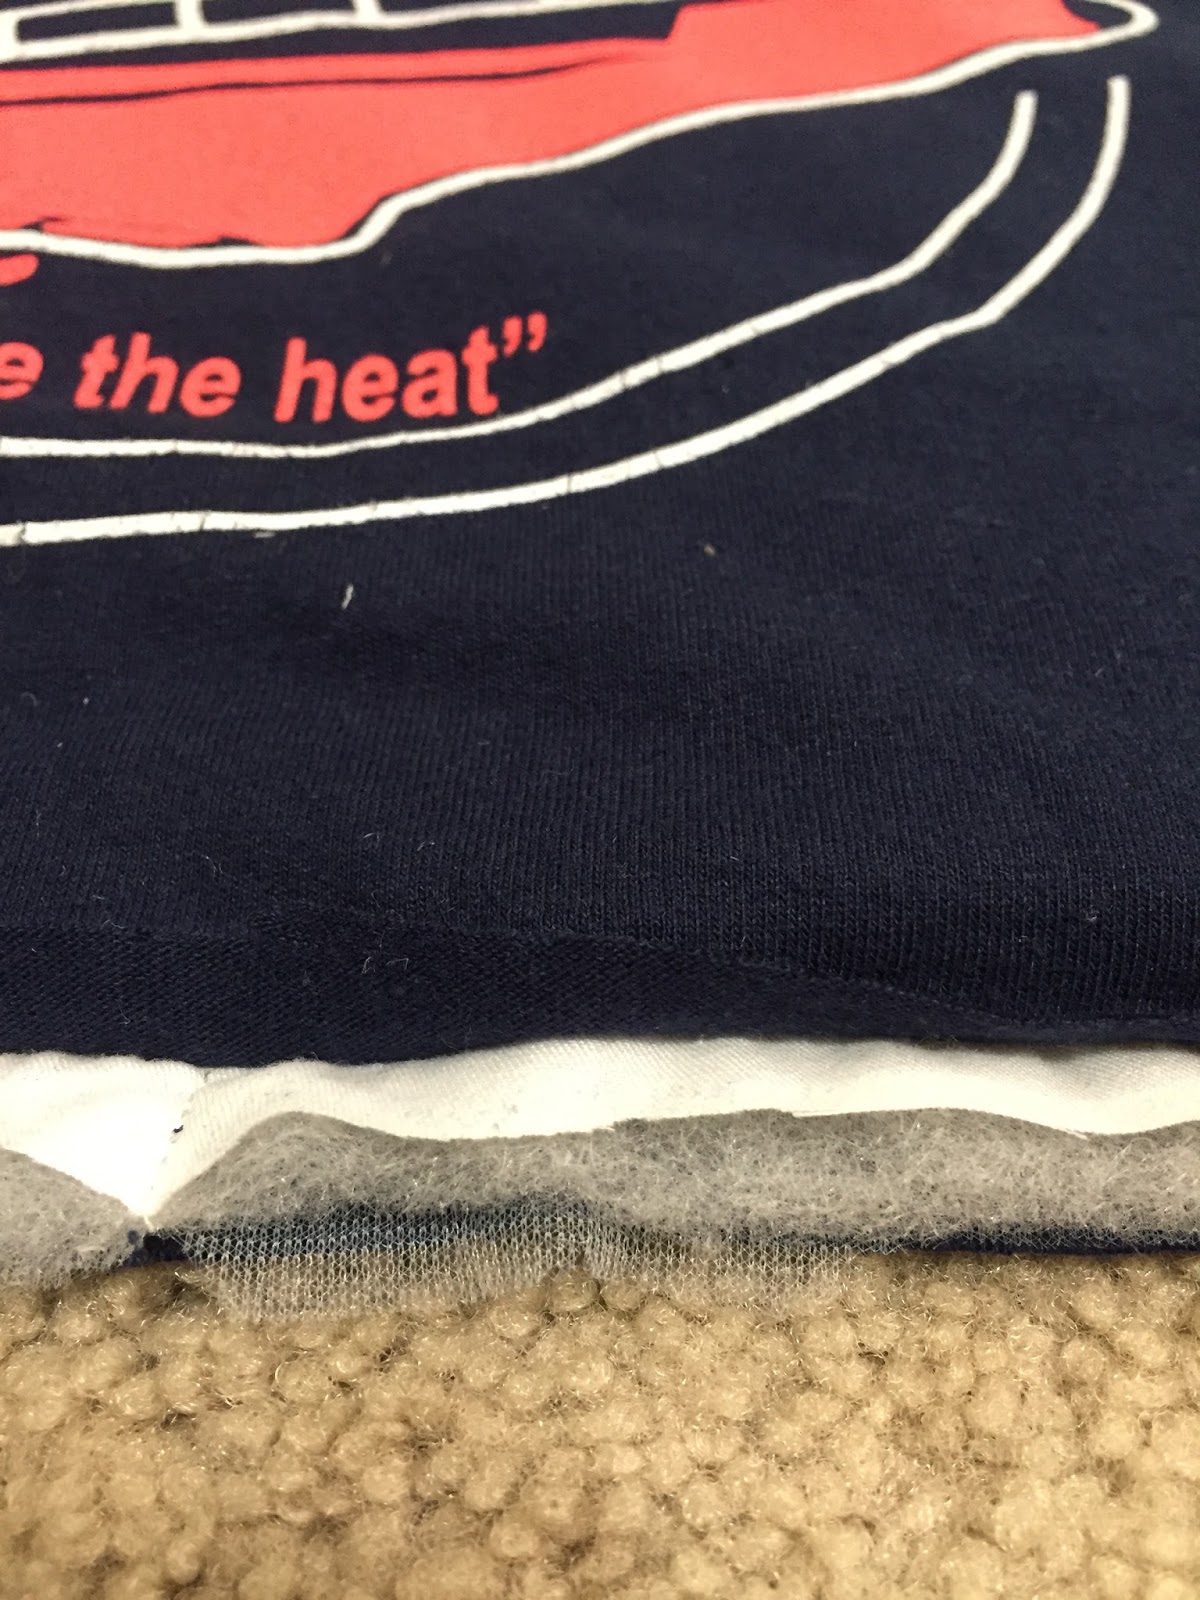
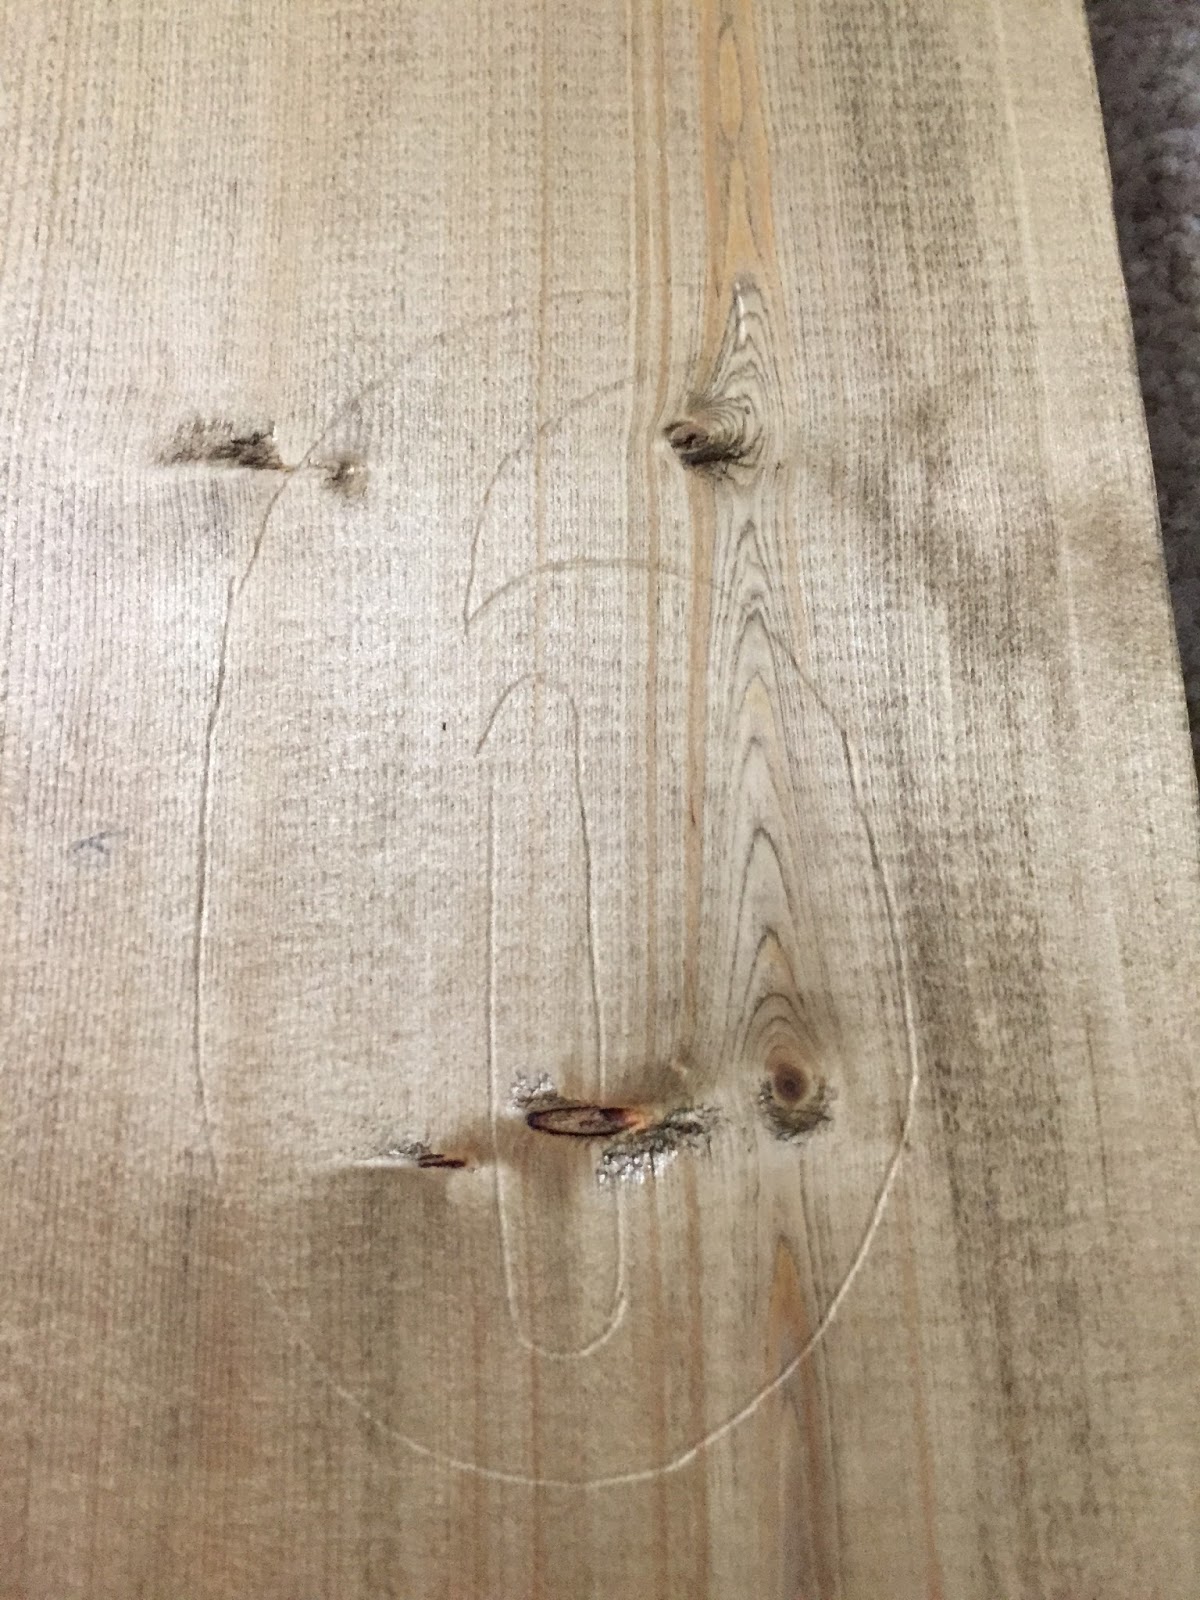
 First, we cut the design out of the t-shirts we wanted for the front and back of the quilt.
 
 
Depending on how large you want your quilt or how many shirts you have the size of your quilt may vary. Then, we cut the bed mat to fit in between each t-shirt. We used a basting stich to keep the pieces together.
 
We did the same thing with the border pieces (2 yards for the front fabric and 2 yards for the back fabric, however depending on the size of your quilt and how thick you want your border pieces you may need more or less fabric).
 
Space themed fabric for the front of the quilt, bed mat, blue fabric for the back of the quilt.
 
We sewed one panel at a time (t-shirt, border, t-shirt, border, t-shirt).


Then we added a border in between each panel and around the perimeter.


The last steps are to stich the edges and take out the basting stiches.
She also made a special bear for him using a pattern. The aqua fabric is a pajama t-shirt my husband’s mother wore and the striped fabric are the pajama shorts. While you get your winter gear out of the attic, take a look at your old t-shirts and create something new for your home!


Grams with Wesley III
 
 
 Space boy
 
-=

Growth Ruler

Sunday, November 5, 2017

Somehow, I ran out of room in my son’s nursery for everything I wanted to put in there. Then I realized this would be a great opportunity to dress up our otherwise empty hallway. Also, this will be a good spot for all of our kids to check their height because it’s in a common area.


For this project I used a 7 foot tall by 5 inches wide piece of common board.
I printed the numbers 1-6 to indicate feet and traced them onto the wood.


I used a paint pen to create the numbers.
Then, I traced the inch, quarter inch, half inch, and three-quarter inch marks.
 
The paint pen was too thick for the inch marks so I used a small paint brush and black paint.
At first I was going to seal the wood with polyurethane, but I decided against it. I thought it might be difficult to use a pen or pencil to write the growth if it was sealed.


Growth rulers are easy to make and a great way to get your kids involved in the project. Be on the lookout for a kid-friendly DIY Party after the new year where we will be making growth rulers. Don’t have kids? Make them as a gift for friend, family member, or teacher!