Pages

Creative Ways to Stage your Furniture

Sunday, April 26, 2015

My client for the Hartford Ave Project bought the cutest mercury glass knobs, courtesy of Pier 1, for her dresser.

 
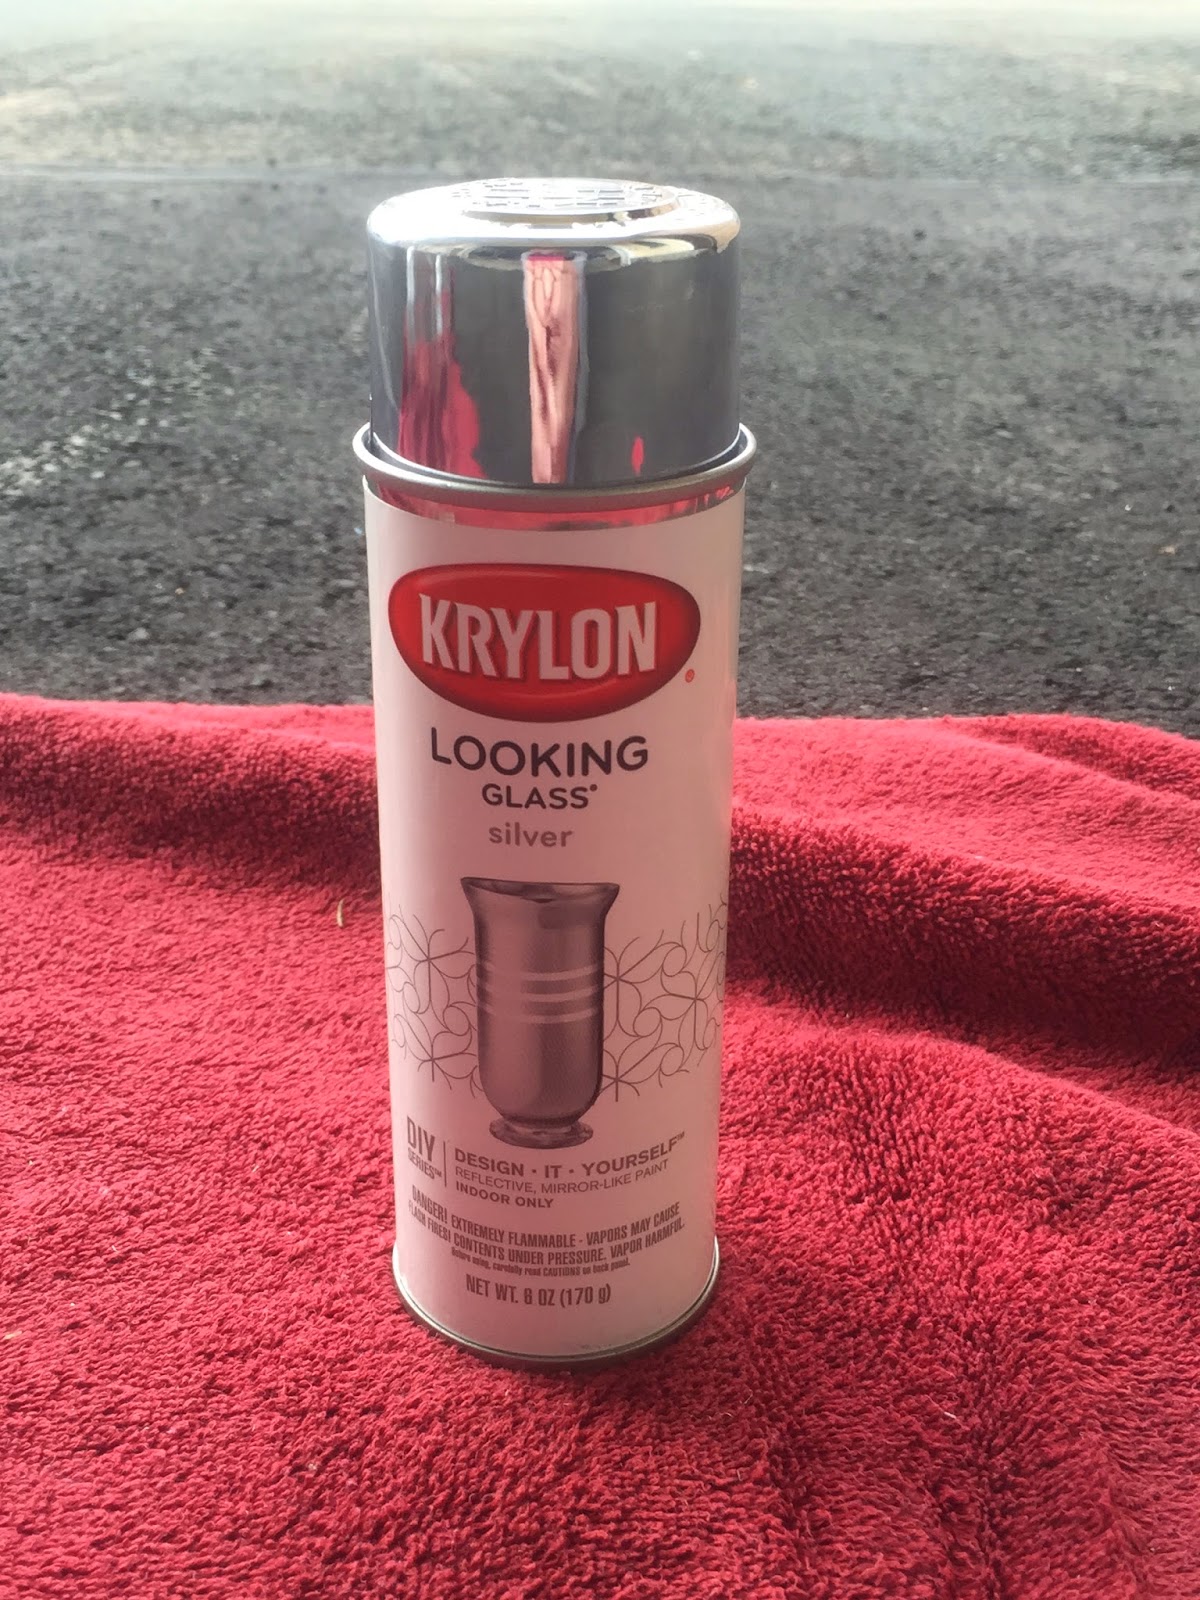
 To match the look for her dresser I spray painted vintage wine carafes with Krylon Looking Glass spray paint.


Now aren’t they adorable?


One of the ways I like to stage furniture is by using thrift store goods.
 
Creative Ways to Stage your Furniture:
 
Tip #1:
Use Thrifty Finds.
Second-hand pieces can be made new with a coat of spray paint, and not to mention you can save a ton of money. My mercury glass piece was $9 total, the closest match from Pier 1 was $25.
Tip #2:
Use your own personal touches. 
If you’re staging a family room piece, place your family's favorite game on top. A dresser, use a beach hat or gloves.
Tip #3:
Spend your money wisely.
Sometimes, I will buy a piece at retail value and then lump the price into the furniture for sale. So for example, when selling a desk add a lamp and a corkboard. The price of the furniture should take into account the price of the lamp and corkboard.
I recently did the same with pillows on a bed. The pillows were only for display, but it adds interest to the piece I’m selling.
 

Mid Century Modern Cabinet Update

Saturday, April 18, 2015


Remember my mid century modern cabinet?

Navy with gold legs and gold pulls won!


Mid Century Modern Cabinet

36(l) x 29.5(h) x 19.5(d)
For Sale: Sold!


How you Should be Styling your Shadow Box

Saturday, April 11, 2015


Negative: Too many shoe boxes in the closet

Positive: Lots of Memories

If you’re anything like my family, you keep EVERYTHING that’s sentimental to you. I’m talking about little league jerseys from the 80s, every birthday card, and thank you note. Just in a few short years, I’ve accumulated three shoeboxes full of memories with my fiancé. I needed to start damage control, stat!


I limited my “KEEP” pile to things we have done together that tell a story. So movie night tickets: OUT! Car rental receipts: OUT! I challenge you to do the same and see what you find!

My “OUT” pile


From my “KEEP” pile I displayed every ticket stub, photo, and souvenir in one memory box. Although this is one way to style a memory box, only a few of my items were especially important.
 
 
Ultimately I chose a few major events: life before we started dating, how we met, birthdays, holidays, and our engagement.


How you Should be Styling your Shadow Box:
1.       Use sewing pins to keep your tokens from moving.

2.      Display personal affections in the bedroom: wedding vows, love notes, baby’s sonogram.

Display items that share a story in common areas of the home: plane tickets, postcards, awards.
 
3.    Layer larger pieces in the back: maps, certificates, newspaper clippings, and smaller pieces in the front: ticket stubs, photos, event programs.
4.   Consider buying more than one shadow box if you have quite a few artifacts to display. Each display case can be used for a different purpose: a progression of your relationship, a box for each child, a box for each type of sporting event you attend.
 
 Take a trip down memory lane. Surprised by something you found? Share it with me!

Mid-Century Modern Office

Saturday, April 4, 2015


Negative: No Sewing “Space”

Positive: Office Space

Now that we’ve sold our spare bedroom set, I’m working on my dream office. I knew I wanted a desk that I could use for cutting fabric (long, rectangular, flat) and I finally found what I was looking for online.


This desk is from the same company where my fiancé works, circa 1950. What I love about the desk is that it pays homage to where it comes from; the company designs airplane parts. Don't the legs look just like airplane wings?

The desk alongside the geometric pattern on the chair inspired the Mid-Century Modern office.


I’m in desperate need of a space for my sewing machine, patterns, and supplies, but kept waiting for my mid-century piece.


Here it is:


Using the industrial/modern palette I'm having a hard time choosing which direction to turn.


So here are my design options, and I need your help!

1.       Two tone grey: Dark grey with lighter grey on the inside of the panels.

2.       Navy with gold legs and gold pulls.

3.       Grey with natural wood on the inside of the panels and the top drawer.


Voting ends Friday, April 10th, 11:59 pm EST.

Hartford Ave Project

Saturday, March 28, 2015


Negative: Never-ending Winter

Positive: Weather is above the freezing point!

One difficulty moving to the Northeast was finding things to do in the winter. Now that we can see the grass through the snow, I’m taking on projects.

Hartford Ave Project
My client is in the process of building a home and needs a dresser for her guest bedroom. The current dresser is girly and desires a push to become as elegant as her new home. She's using her childhood furniture ( a great idea for new homeowners ) to decorate the spare bedroom.
 
 
I'll paint the dresser white (Antique White by Glidden) to compliment the room (painted Beguiling Mauve by Sherwin Williams).


Check back for updates on this beauty!
 

How Spring Can Inspire Home Design

Saturday, March 21, 2015


Negative: Connecticut Weather

Positive: Holiday Cheer

My Springtime wreath suffered the elements last year.
 

Believe it or not, Spring has begun in Connecticut and it snowed today!


I thought my wreath needed an upgrade. I decided to make a piece that could be hung outdoors, or indoors after Easter is over.

Hobby Lobby was the perfect stop for my crosses. I used Loctite to glue one cross to another.
 
To hang, I had leftover lace curtains from a previous project which I cut and tied.

 
Tips:
1. Try mixing shapes. The smooth curves create interest behind the sharper woodwork and intricate wrought iron.
 
2. Use different textures. I mixed wood with iron for a cold (iron) and warm (wood) contrast.
 
 
3. Think outside the wreath. The flower wreath is a tradition, as you can see I tried to go with lilies last year, but don't be afraid to stray from the traditional wreath. Opting for a cross allows you to use this décor year-round.


Before:


After:


Status: Not for Sale
 
It may not feel like spring, but a girl can try!
Happy Spring!
 

Wedding Guestbook Alternative

Friday, March 13, 2015


I envisioned our engagement photos to be pieces of artwork and wanted to showcase that at our wedding. I decided to create sign-able artwork for our home that will hang for years to come. My step-dad and master carpenter helped me out with this project.

You will need:

-photo of choice (the one pictured is an 8x10)
 
-a frame (the one pictured is 18x24)


-a mat ($8 at Michaels and enough material for 2 18x24 frames)


-exacto knife

-ruler or straightedge


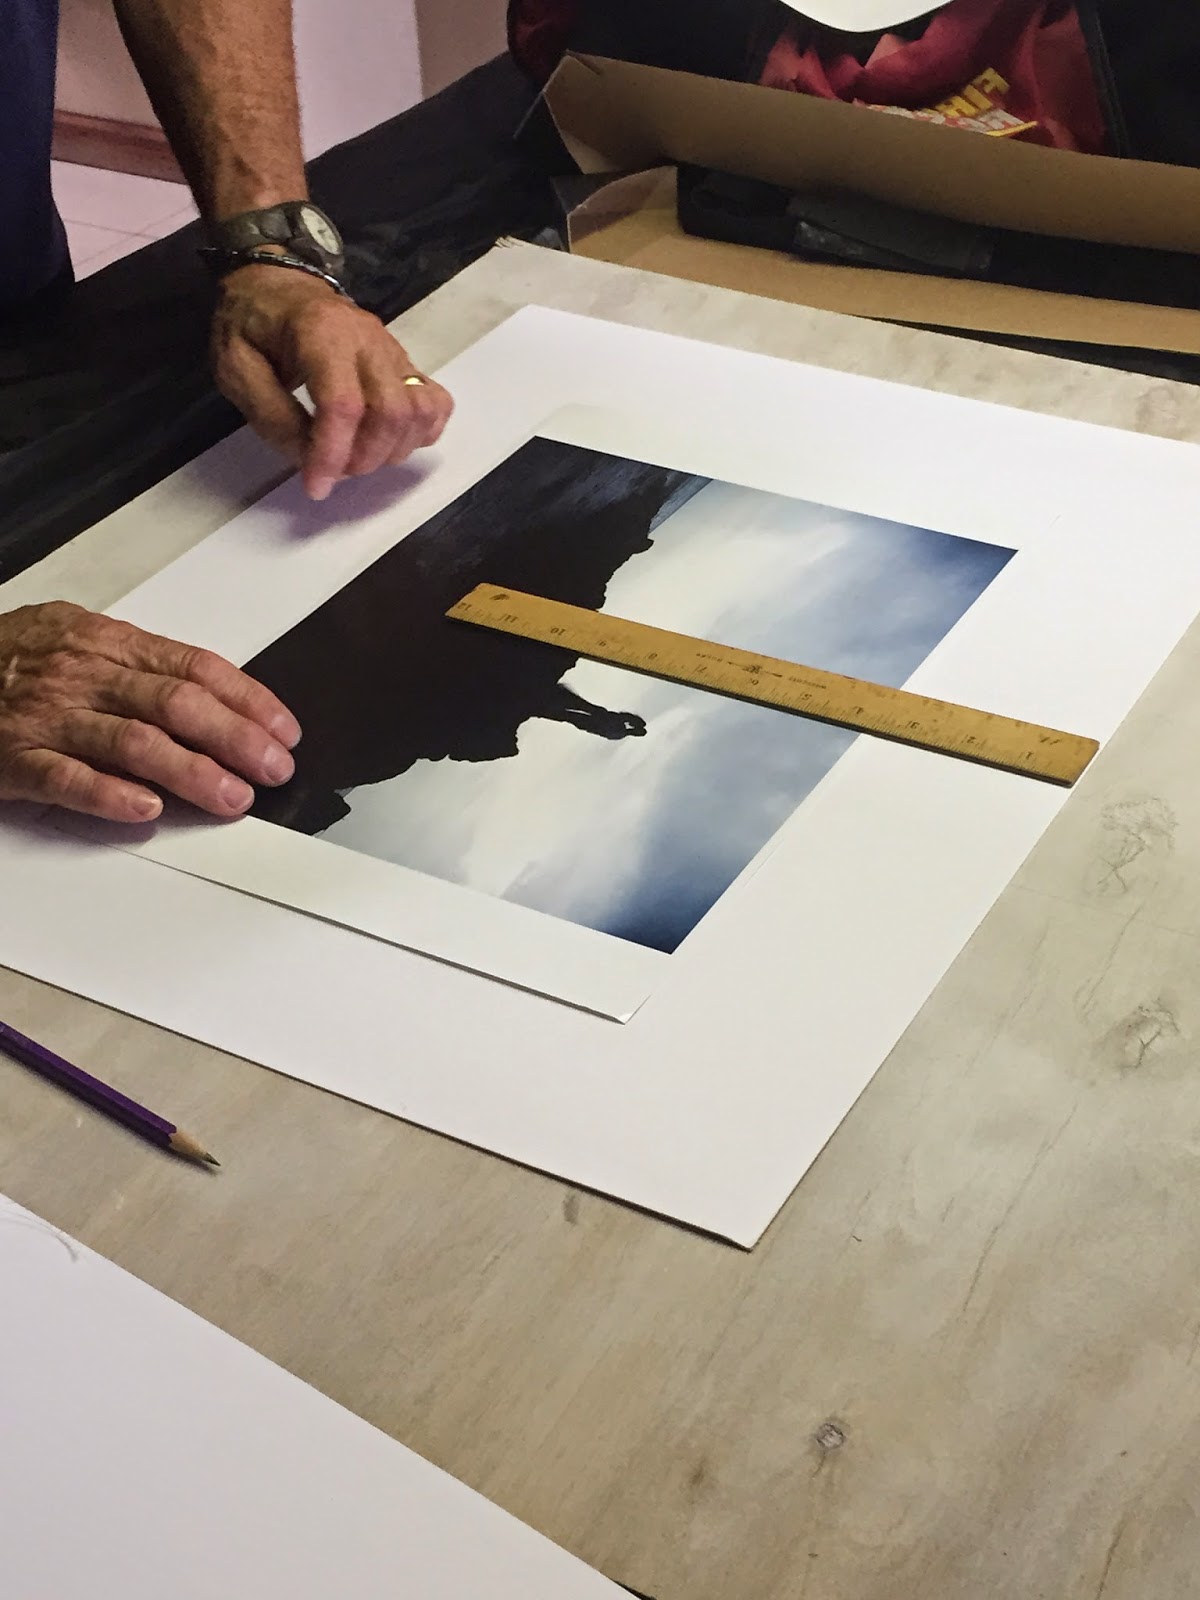
1. Cut the mat to the size of your photo.
 

Tips from Joe: 
  • Trace with the lightest number pencil.
  • Cut multiple times against a straight edge.
  • Cut on top of a wood surface; when you hear the knife cut through the wood you've done your job.
  • Always cut on the inside, meaning, if your hand accidentally moves it cuts into the space you will be throwing away rather than the side people will sign.


2. Place down the mat, photo, glass and then backing. This way people can sign the mat during cocktail hour.


When we hang the frame at home, we'll put the glass down first to protect the signatures.


Before:

After:

Status: Not for Sale


Just for you: