Pages

Entryway Table Makeover

Sunday, January 29, 2017

Before

Before

 
This entryway table can be used as a desk or vanity. The shelf in the center comes with the storage bins. Perfect space to store your laptop, makeup, or use as a fancy junk drawer.
After


Dimensions: 3 ft 11 in (l) x 1 ft 10 in (w) x 2 ft 8.5 in (h)
Status: For Sale

How to Use a Paint Pen

Saturday, January 21, 2017


Usually when I paint words I just trust myself to free write with a can of paint and a paint brush. See some of those projects here:
When I made this artwork for the living room I wanted to make sure it had a specific font and was spaced appropriately so I used a paint pen for the first time! Here’s how I did it!
 
You will need:
A paint pen
 
Printed phrase
Pen/pencil
1.       Print your words and lay them out across your artwork. (I use picmonkey.com to create my letters)
 
 
2.       Trace your letters onto the wood. There should be faint lines left on the wood for you to use as a guide while you paint.
 

That says "it's"
 
3.       Fill in your letters with the paint pen.
 

Pros:
·         Each letter will be consistent with each other.
·         The spacing will be pre-planned.
·         You can choose what type of font you want rather than your own handwriting.
Cons
·         If you press too hard with your pen it will leave indentations in the wood. (In reality, no one can see that unless you inspect the wood up close.)
·         If you press too hard with the paint pen, the paint can bleed onto the wood.
 
Come learn how to use a paint pen at my DIY party! Save the date: Sunday, April 2nd, 11 am. We will be making flower boxes and decorating using paint pens just in time for Spring!

Valentine's Day Gift: Wedding Song Wall Art

Sunday, January 15, 2017


Our fireplace was so bare; I had to do something. This wall art is stained in Honey by Minwax. The line is from the song “Feeling Good” originally sang by Nina Simone. We danced to the Michael Buble version at our wedding.


It was a very serious Argentine Tango!


The Furniture Bible: A Review

Sunday, January 8, 2017

 
When you're trying to take a picture but your cat thinks it's time to play with bubble wrap.
 
My brother bought me The Furniture Bible by Christophe Pourney for Christmas. Not only was it extremely thoughtful but a departure from his usual gag gifts. Like the year he got me rubber gloves for Christmas because I need to become a housewife and do the dishes. Or the year he got me a framed photo of JC Chasez from NSYNC circa 1998.
At first I thought this book was going to be a history lesson on furniture. I had seen similar books with black and white pictures at the library and lost interest. I have to say this book was easy to read, engaging, and helpful.
The feature that meant the most to me was the how-tos. There is nothing wrong with using online mediums to learn. My husband can watch a video and fix just about anything, I just prefer to learn by reading. I’m one of those people that refuses to save events in my phone. It’s 2017 and I still use a planner to write out the weeks’ events. The how-tos in this book provide step by step pictures and instructions. When I use my phone either an ad pops up, a picture is skipped, or my phone locks by the time I’m on the next step.
I also appreciated the definitions of different materials used to make furniture. Pourney also described how you may spot each material on a piece and gave an example of each. This will help me in the future when I’m shopping for a piece to restore. Ever look at a piece and think: Is this quality, or junk? This book will help you make up your mind.
If you enjoy finer pieces you will want to read the section “The Hunt: Where to Find Great Pieces- and What To Look For”. The author outlines different venues to buy furniture, what to expect, and how to score a piece that may be undervalued. I’m mostly a give me your trash and I’ll make it your treasure girl. This book opened my eyes to other ways to score furniture finds and helped me figure out what to look for with antique pieces.
All in all, take any furniture tutorial, painting hack, or your grandma’s pearls of wisdom about antiques and put it all in one book and you have The Furniture Bible. My husband and I already have plans to enlarge specific charts from the book and hang them up in the workshop as quick references.

DIY Cat Tower

Saturday, December 31, 2016


If you remember my post Create a Comfy Bay Window Seat you know how much I've been wanting a cat. Well how about two?! My two babies are waiting for me to come home from work in their bay window.


My Christmas present (Ellie) has brought a lot of movement into our home.
 
Her big brother (Sam) has found a new playmate in his sister.
 
Whether they chase each other around the Christmas tree or play fight on our bed at 2 am, they are constantly keeping each other active.
 
Their active lifestyle and mischievous shenanigans sparked the idea to build them a cat tower.
 
The levels are 2 feet, 3 feet, and 4 feet. We originally had the top level at 5 feet but it proved way too high for Sam.
 
The base and the shelves were from scrap wood. The 2 by 4 for the 2 foot tower is the sturdiest. If I were to do this project over again I would use 2 by 4s for all of the towers. The other two towers are held up by a 4 by 4 post.

We attached a basket for them to jump into using some hooks and bungee cords. So far Ellie likes it but it’s a little unstable when she jumps out of it.


We reinforced the 4 foot tower with some brackets since that was a little wobbly as well.
I used garden rope ($9 at Home Depot for 50 feet of it!) to create a scratching pad. If you want to save time (about an hour and fifteen minutes) hot gluing fifty feet of rope, attach a scratching pad to the side.


My favorite part of this project was making the cushions for each shelf. I’ve seen cat trees carpeted before but I wanted to take it to the next level. I call Sam my King and Ellie my Princess so I wanted to give them a play space built for royalty. I attached high density foam with adhesive and let it sit overnight. I used batting and a soft fabric to wrap each shelf like a Christmas present and stapled the fabric underneath.


We plan to add more toys to the base of the tree, but for now, this day long project was well worth it. We sprayed some catnip mist and put some treats on each shelf and they knew what to do!
Sleepy kitties


Milestone Picture Frame: Last Minute Christmas Gift

Sunday, December 18, 2016

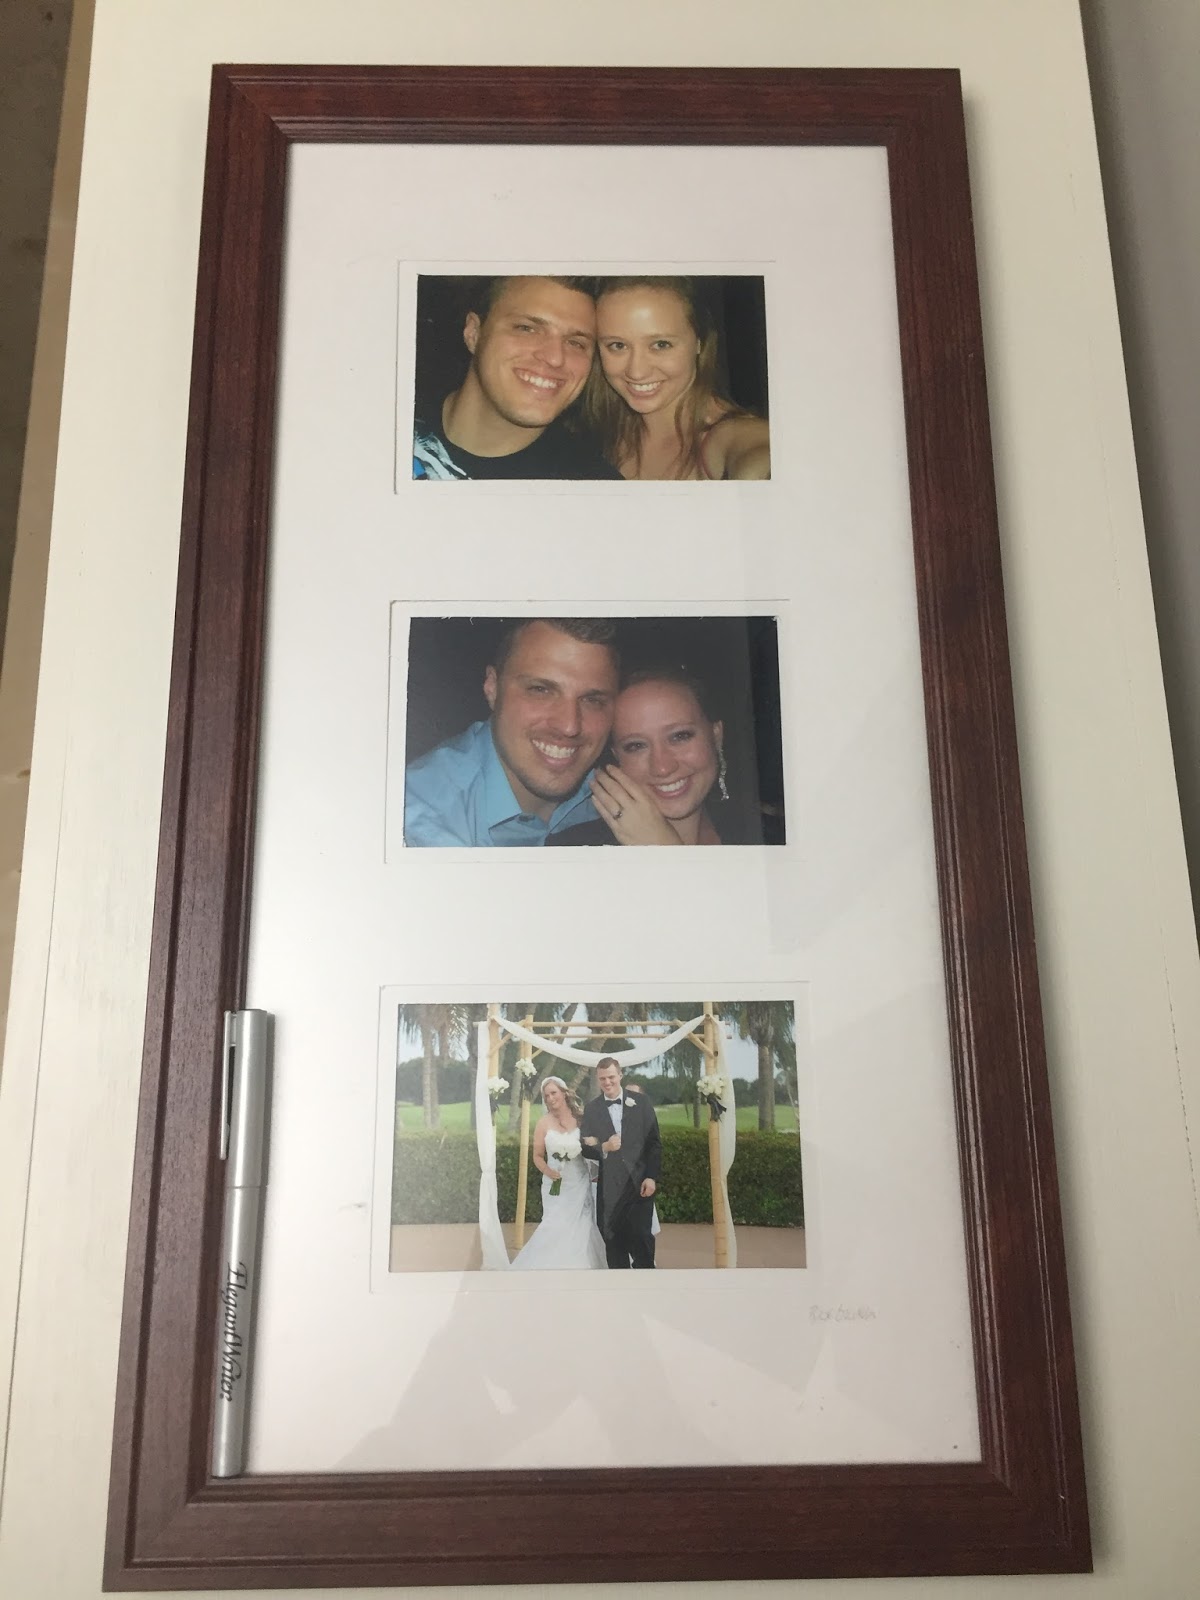
This is the perfect gift for your husband/wife or parents if you can dig up some old pictures. The milestones I chose for my gift were our first date, our engagement, and our wedding.
All you will need is:
A picture frame with a mat
A marker
Pictures
 
I bought a calligraphy marker for this project but you don’t have to.  I was convinced I would teach myself calligraphy but that required more time than the hour I had before my husband got home. What I learned from the brief research I did is that you should first trace your letters in pencil, then use your marker.
 
Shade in your letters a few times (I did 3 times).
 
 
Also mix your fonts. I used larger cursive for the title of the picture and smaller capital print for the description.
If you don’t trust your own handwriting you can use scrapbook sticker letters. I almost went that route but I think doing it in your own handwriting makes it personal.


Can’t wait to give this to my husband on Christmas! Here’s to hoping he doesn’t read my blog!
Variations on the Milestone Picture Frame
·         Use it as a pregnancy announcement. Leave one open spot for “Future Grandchild” or a sonogram photo.
·         Frame each of your child’s footprints.
·         Surprise a pet lover and give them photos of their pets with their birthdays or adoption dates.
·         Remember all of your favorite family trips over the years.
·         Retake a childhood photo as an adult and place the photos side by side.

Sleek Sofa Table

Sunday, December 11, 2016


When I designed this sofa table I thought it would work well between your sofa and the wall. A good place to charge your phone, hold your drink, set your books, or whatever else you need a sofa table for.

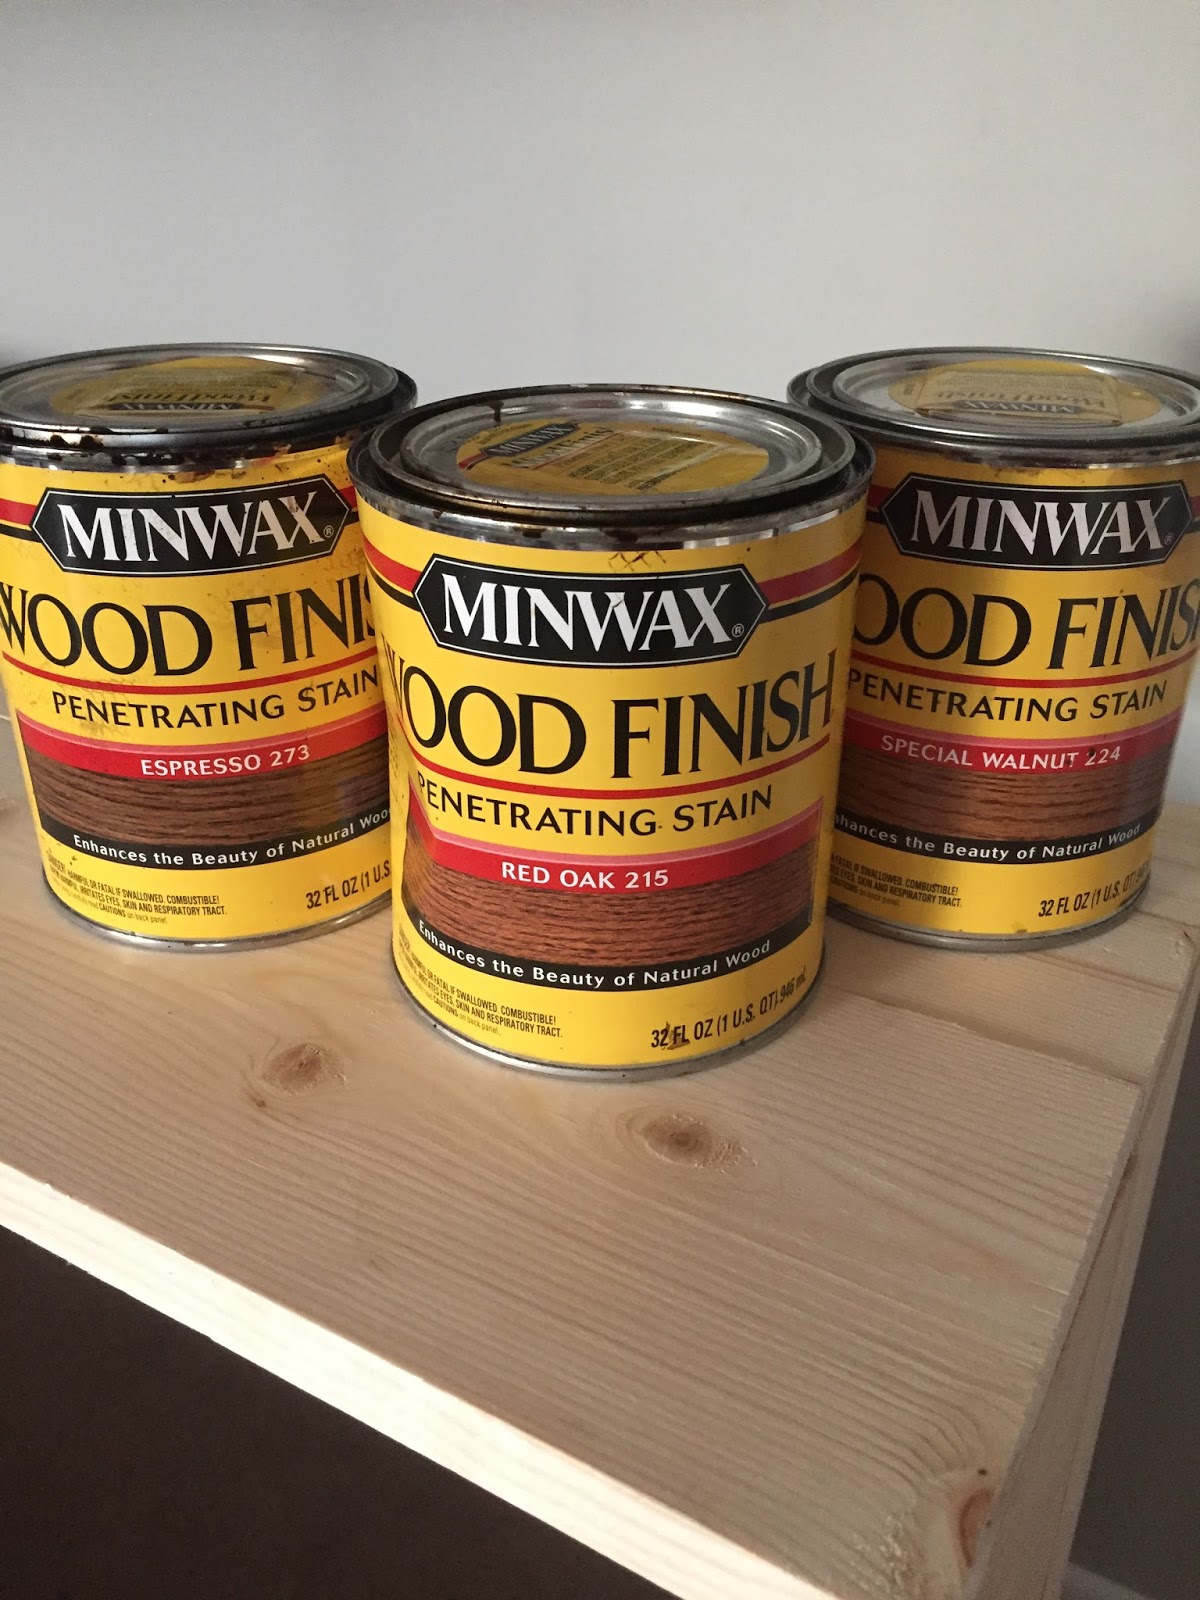
I need your help!! I can’t decide on the stain I should use to finish this piece. My options are Espresso, Red Oak, and Special Walnut. Here are some projects I’ve done in all 3 stains.


Let me know if you’re interested in this piece and you can chose your own stain!

Leave your comments below!