Pages

DIY Baby Shower Banner

Sunday, March 26, 2017

 
So many baby shower invitations are now asking for a book instead of a card. I used this inspiration to create a fairy tale themed baby shower banner. I think this is a great way to save money on a banner you will use once, and an easy way to customize the design of the banner since you are making it yourself.
 
 
First you will need a book that you don't mind cutting the pages out of. I bought this fairy tale book for $2 at a thrift store.


Find a cute story and cut triangles from the pages. Another good idea would be to use the illustrations from the book.
 
 
I painted the letters I wanted onto each triangle. After they dried, I hot glued ribbon to the back of each triangle so I could hang the banner on the frame I made.


Poetry and literature have inspired many of my designs. Check out a few here:


Website Reveal

Saturday, March 18, 2017


I’ve spent my birthday week perfecting my website. Check it out: www.drewdanielledesign.com
You can expect to see all of my recent projects as well as shop for items for sale. My website also has links to all of my social media accounts. Instagram is my new favorite! Follow me at drew.danielle.design
 

DIY Party: How to use a paint pen

Sunday, March 12, 2017

 
Join me at my DIY Party, April 2nd at 11am. We will be learning how to use a paint pen on a flowerbox. See the details on Facebook!


Guest Bedroom Reveal: No Longer Sad Plaid!

Sunday, March 5, 2017

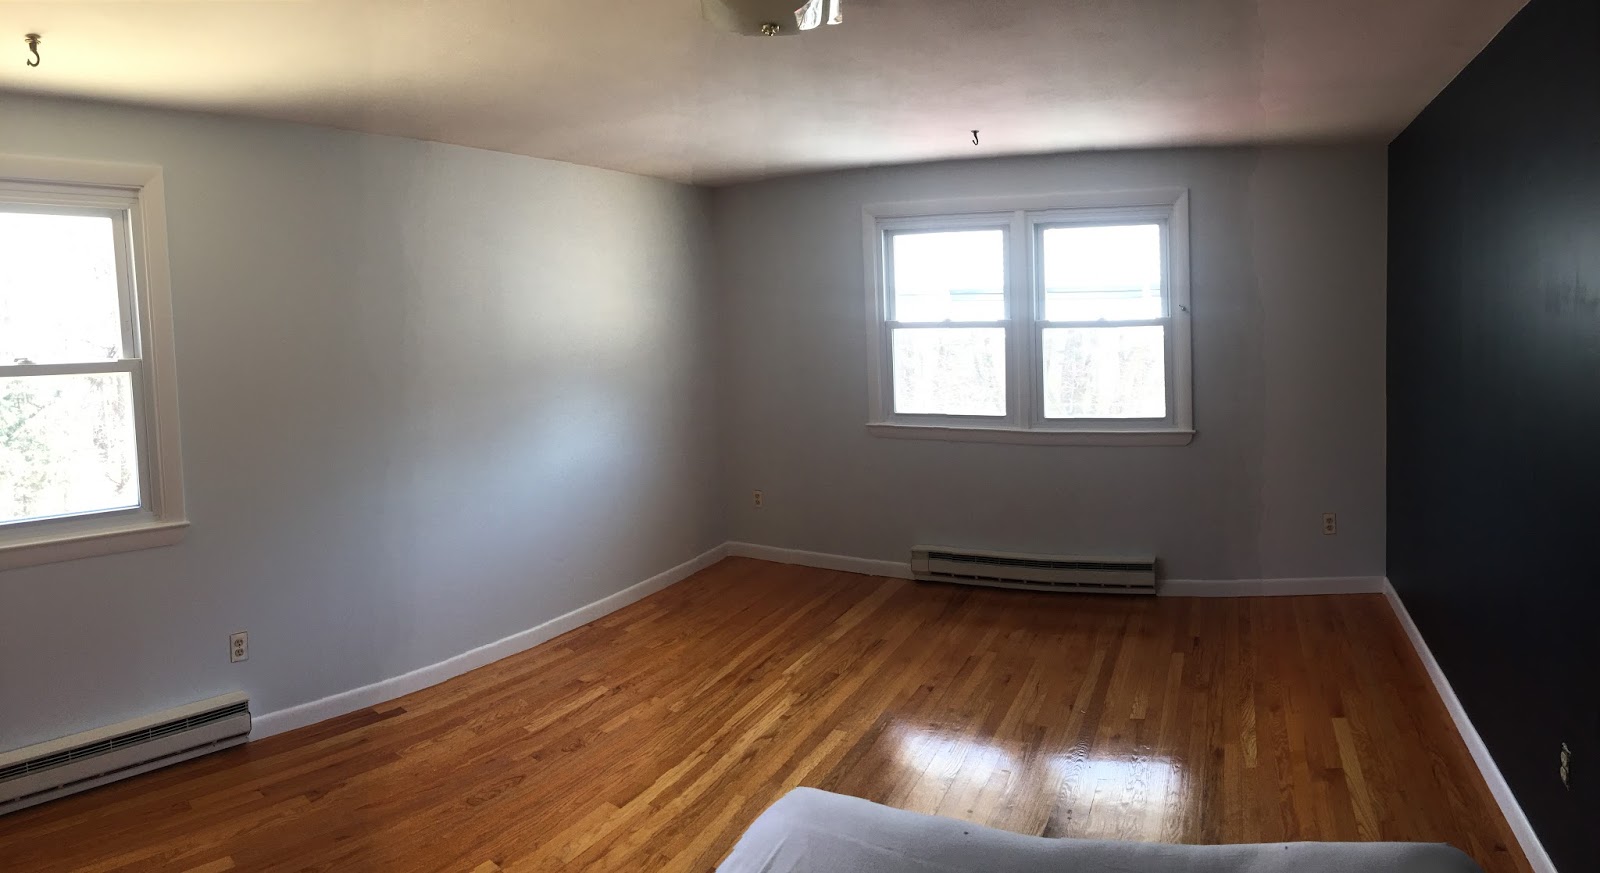
Well before Thanksgiving I was picking out the paint colors for our guest bedroom. As winter is ending, we FINALLY have the paint up on the walls.

Before

 
During


After


The lighter blue is called Grey Sky by Benjamin Moore and the dark blue is Polo Blue also by Benjamin Moore.

 
 I use their Natura Line because there is no odor when painting.
If you have seen my fireplace makeover, that blue is called Gentleman’s Grey. Polo Blue is just one shade darker. The deep blue shade is beautiful and the lighter blue on the other walls makes the room still feel as big as it is.
Both colors side by side.
 
On to the basement and the 2nd guest bedroom. We’re thinking green!

One Painting Trick that Will Save You Hours

Saturday, February 25, 2017


My husband and I have had a few issues getting our paint to stick to the walls after taking down wallpaper. While I was looking for some advice, I found another helpful trick that would have saved me hours repainting my trim!


Every now and again my steady hand would fail me while using my edger tool and paint would end up on the trim. Or, the paint roller went wild and painted over the electrical outlet or heaters.
 
 
I highly recommend investing in a edger. I paint the corners and around the trim while my husband uses a roller right behind me.


The one painting trick that could save you hours is something you probably have in a closet somewhere: Windex! Windex lifts wet paint off trim. Another fun fact I learned today: Windex removes dry paint from wood floors too!
 
Baby blue paint mishap!
 
All gone!
I spent many nights repainting trim more coats than necessary just to cover up blue or grey paint. I’m not sure if it feels like it takes so long to paint trim because its detail oriented or its because I’m so sick of doing it. All I did was use a dry paper towel to wipe of  the paint and then applied Windex to anything that didn't come off immediately. Use a small paint brush instead of a paper towel for tighter spaces.
With only two rooms left to paint, we’ll be using this trick from now on!
 
 
The basement is next!


Jewelry Organizer Makeover

Tuesday, February 21, 2017


This dated jewelry organizer was brought up to 2017. Fresh and fun! I love the aqua with the gold accents. Lightly distressed. The inside in lined with grey felt.
Finished in Rustoleum's Lagoon.

Dimensions: 1 ft. (l) x 7 in. (w) x 4 in. (h)


Create Your Own Craft Storage using Old Candles

Saturday, February 11, 2017

I love using candles in beautiful containers. I’ve seen tutorials about cleaning out the wax and reusing them but I never thought of how I could use them. In my workshop I have a space for all of my larger equipment, but the smaller pieces scatter. If you’re like me, you can use more storage in your craft room!

 
1.       Freeze Candles.


2.       Break wax apart with knife.


3.       Clean soot and leftover wax with baby oil.


4.       Clean with paper towel and dish soap.

5.       Reuse for storage!
 

Tips
  • Use a knife you don’t care about when breaking up the wax. We only had our nice silverware and I feel like I just wasted a good knife since it is covered in soot and wax.

  • The wick on one of my candles was glued to the bottom of the jar so it did not come up easily. Check for glue.

  • Wear gloves! My hands had leftover soot after washing them 3 times!


  • Old candle jars work well in the office (pens and paperclips), bathroom (Qtips and cotton swabs), and garage (nuts and bolts) too!
Perfect storage for my bobbins!