Pages

Lazy Girl Guide to Trim

Saturday, December 20, 2014


Negative: Stopping my sewing to take out pins

Positive: The Throw and Sew Method

Before: I used my tomato cushion, sewing basket, and this plastic case to hold all of my pins.


The motion of pushing a pin into a cushion was just too much for me while I was taking pins out of my project, especially when it came to trim.
 

How I made my positive:
I bought a metal office tray (I’m assuming for paperclips?), a candle holder, and a child’s magnetic toy. The adhesive magnetic dots were less than 2 bucks at a craft store.


I placed the magnets on the bottom of the metal tray and on the bottom and sides of the candle holder.


The magnetic pad got a makeover by hot gluing fabric to cover it.


After:
A beautiful trim on my Christmas Tree Skirt.
 

What I love: I can throw my pins and they are automatically caught. The metal tray matches my desk the most, the blue candle holder is the prettiest, and the magnet is the most practical.
 
This is only the beginning of my office transformation (since I sold the last set of furniture and still have more to sell from this room: Sold Furniture and Furniture for Sale) Check back in the new year for more updates on my home office!


What I would change: I would buy more of the magnetic toys since they are the most practical and completely customizable by the fabric you choose. The magnet also weighs down the fabric while I pin it.

  
Status: Not for Sale

What do you wish could be made simpler? I’ll work on it!
How to Make a Whiteboard Work in Your Home

Saturday, December 13, 2014


Negative: Too many to-do lists.

Positive: Pretty Organization

How I made my positive:

Our garage is outfitted with a 6 by 3 foot whiteboard. We have a Superbowl party and we use the board for squares.


The leftover pieces were made for my classroom so students could use them for test review, group work, motivation for reluctant writers and beyond. 

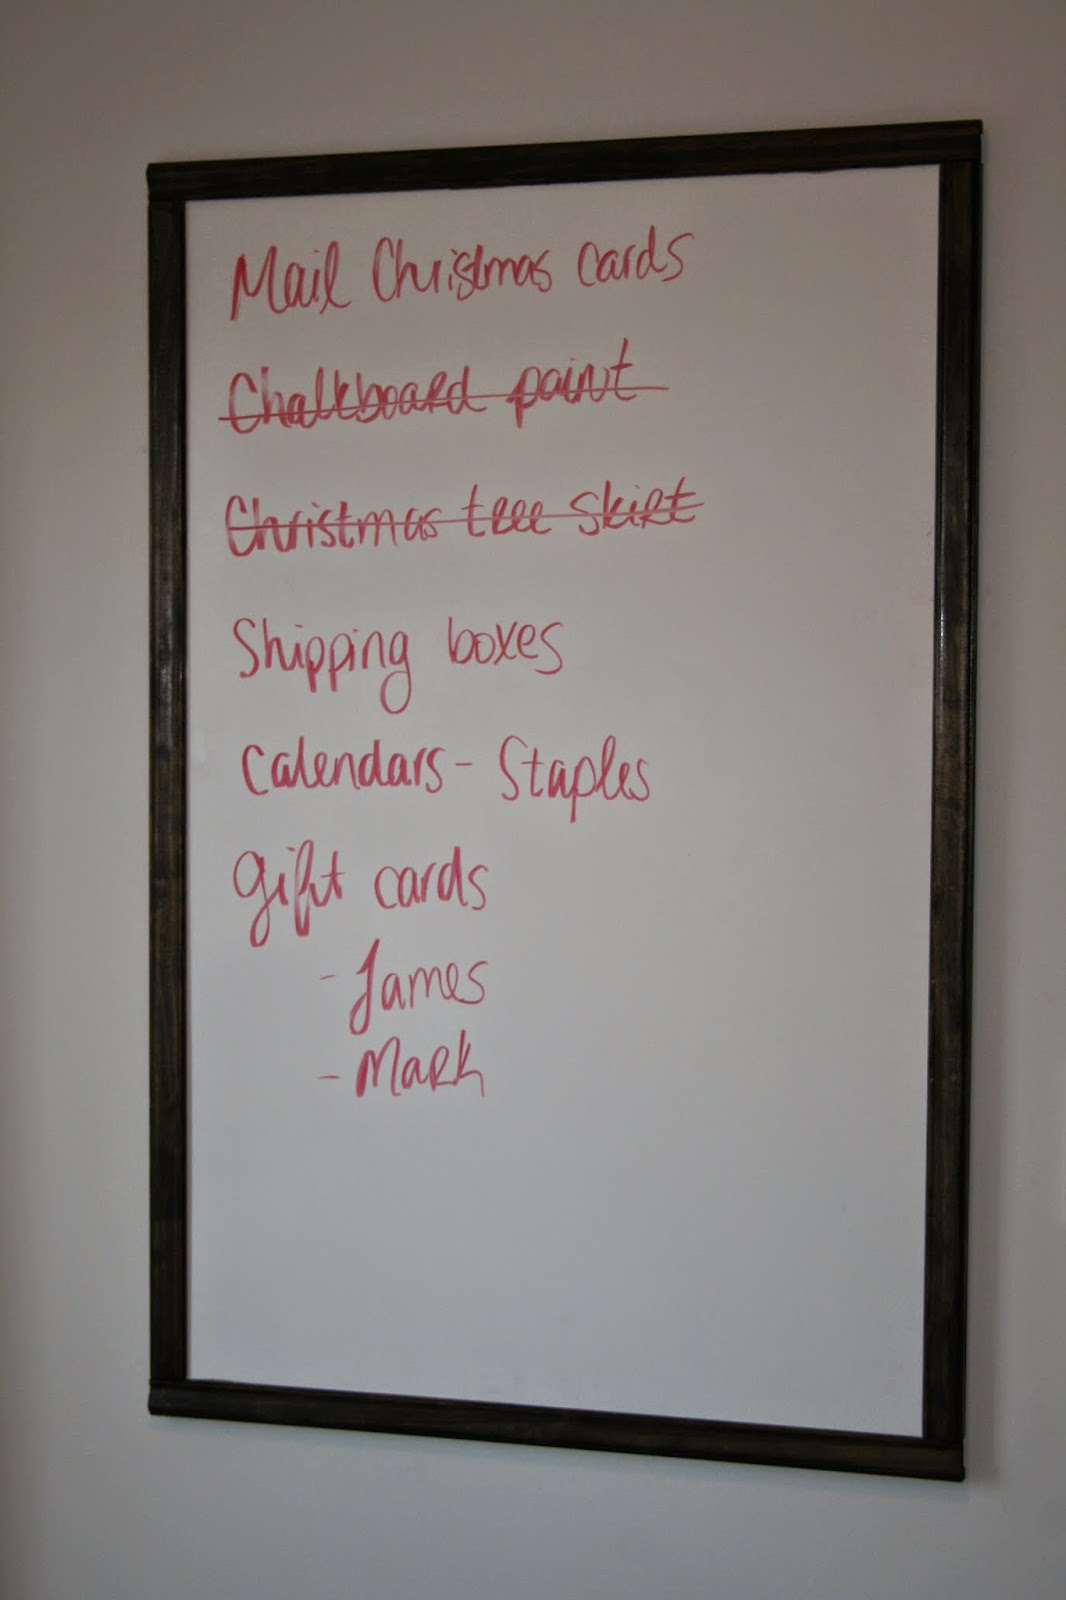
We had one giant leftover piece that we started to use for our to-do lists, game night scores, and, in our household, the occasional diagram that explains how planes fly. The edges were worn, and it sat on the floor most of the time. With no place for it to go, I knew we needed a change.


Before: Our whiteboard was used for game night tallies and to-do list sorting. Ugly and inconvenient.
After: Board was already cut 2 by 3 feet. I purchased wood trim with a groove in it, stained the wood, and then we placed the whiteboard within the frame and glued with wood glue (gorilla glue), clamped it down, and let it dry overnight.
 

The wood was close to the color of the table below it before stain. The stain I used is called Espresso from Minwax.


The groove in the back made it easier to place the whiteboard inside of it.


I wanted the option to remove the board if needed so I used this bracket on the back.


What I love: It’s up on the wall where it belongs.


You can see my ugly to do lists in the background on the fridge

Ugly checklists


What I would change: The stain color. Which I did! My advice with stain is to either
(a.) Stain a scrap piece or somewhere hidden, or
(b.) Stain with a light coat, don’t keep the stain on for very long and reassess the color after a day has passed.
I wanted a darker color so I stained 5 times until I got the color I wanted. You can always make it darker, but you can’t go backwards and make it lighter.


Status: Not for Sale
Do you have multiple check lists like I do? What’s your solution?

2 Steps to a Modern Bookcase

Saturday, December 6, 2014

Negative: Storage Bins, Storage Bins, and More Storage Bins

Positive: More reading

When I moved in with my boyfriend, now fiancĂ©, we had a multitude of books collected that we couldn’t part with. We started to have a bin problem. Storage bins labeled, but never opened. Heavy bins that were lugged around when we moved, then sat to collect dust. Then a blessing came our way, a free bookcase.
How I made my positive:
I found this bookcase ready to be thrown to the trash. I could tell this bookcase wasn’t cheap, and it’s only flaw was a crack in one of the center shelves. I’ve never been afraid to reuse something that old, but I wanted to make sure the flaws weren’t at the forefront.


1. Using old boxes, I cut out cardboard that would fit the back of the shelf.
2. Then I wrapped them in wrapping paper.
What I like about this technique is it’s cheap, removable and replaceable, and easy to do. It also allows you to bring a style element into an usual space, like a library, study, or office.
Using prints, metallics, or bright colored gift wrap makes for a statement piece.


Before: Flawed
 

After: Fancy


What I love: We read more at home now and have lightened our storage bin problem.

What I would change: This whole bottom shelf. Anyone ready for some light reading on Vector Mechanics?

 
Status: Not for Sale

Do you have a dinky bookshelf?

Here are some tips,

1.       Use your kids’ artwork to cover the back of a playroom bookcase.

2.       Interchange your bookcase with holiday wrapping paper to match the season.

3.       Use old sports t-shirts in the bookcase in the den.