Pages

Two Toned Nightstand

Sunday, August 28, 2016


After buying our house just two short months ago, the budget for new furniture was slim. My mom is coming to town for our housewarming party and I wanted her to at least have a nightstand to charge her phone, have a glass of water, etc. It just so happened that our neighbor was moving out and left a pile out on the curb labeled “free”.


I wish I would have taken a before picture of this petite side table. It was a glossy black with polished nickel knobs. This project needed to be stripped and brought back to life!


For the first coat of the paint stripper (I use Citristrip) I discovered that the black glossy spray paint was on top of a white coat of paint. The paint dripped off in big globs but left a lot of residue.

I realized I needed to strip it again but only in a few pesky portions. This time I paid attention to the details. Using a wire brush set I was able to get into the nooks and crannies. I also used Q tips to help dig out the goo and also to clean the piece with denatured alcohol once I was done.


I love the two toned look and had leftover white chalk paint so it was kind of a no brainer. I left the drawers bare because they paint came off so easily and I wanted the integrity of the original piece to shine through.


Follow up with me on this project and see how I was able to get these drawer pulls to fit even though they were just a little bit too big: here!


What To Do with Your Boring Brick Fireplace

Sunday, August 21, 2016


Paint it a BEAUTIFUL, BOLD color!

When we bought our house I liked the white brick on the fireplace surround. Then we started to paint and the beige color on the wall made the white fireplace look off-white and dirty. I wanted the fireplace to stand out, not blend into the wall.


If your fireplace is already painted then you have saved yourself a few steps (cleaning and priming). I used a tack cloth to wipe off any dust. We picked Benjamin Moore’s Gentleman’s Grey in eggshell to complement our living room wall color (soon to be completed!). I painted with a roller first (which you could skip since it didn’t provide much coverage). Then I hand painted each brick twice. (What I really mean is my friend Tina did the majority of the work while I stressed out over my spilled paint!).


The trickiest part of this project was painting the brick on the bottom that bordered the carpet. The tape didn’t stick to the carpet at all. I used a small detail paint brush and a wallpaper scraper! (I knew they’d come in handy again). I pushed the carpet down so I could get to the brick and then wiped the scraper off each time I painted to avoid leftover paint from getting on the carpet.

 
Tips for painting your fireplace:

1.       Use a handy paint pail or paint trim cup to hold while painting. I spilled the paint on my carpet because I was using a small coffee cup and it tipped over while I was trying to fill it.

2.       Consider covering up parts of the wall close to the fireplace. We were painting the living room walls again anyways so it was okay that we got some of the blue on the beige, but that might not be okay if your walls are already painted.

3.       Think about ways you can incorporate this new bold color into the design of the room. We’re using the same color on our front door. Can you use this new bold color in a few pillows, some artwork, a new rug? A new color may change the whole look of your room!


This project took a half day to complete. (Every now and again my husband will see a few high spots that I missed and we will touch up so make sure a tall person takes a look at your work!) The results were well worth the half day of work.

Now off to finish painting the living room!

10 Things to Consider Before Buying a Fixer Upper

Monday, August 15, 2016


1.       Something will go wrong.


It might be while you’re moving in, painting your new house, or just at the worst possible moment. Our dryer broke while we were washing our bath towels, which meant we had no towels to take a shower... gross.

2.       You will become an expert at everything.
 
Do you know what a gopher hole looks like? Neither did I. You will study and learn about the most random of things. You will feel like you are equipped to fix anything with your newfound knowledge and at the same time feel like you have so much left to learn.

3.       Small jobs will take hours or days.


This wallpaper was taken down in June and will probably be cleaned and painted by September. My advice: do not start another project until you have finished the one you started.
 

4.       You will take multiple trips to your local home improvement store.


There is always one more thing you need that you forgot about. Late night trips, early morning trips, and multiple trips in one day.

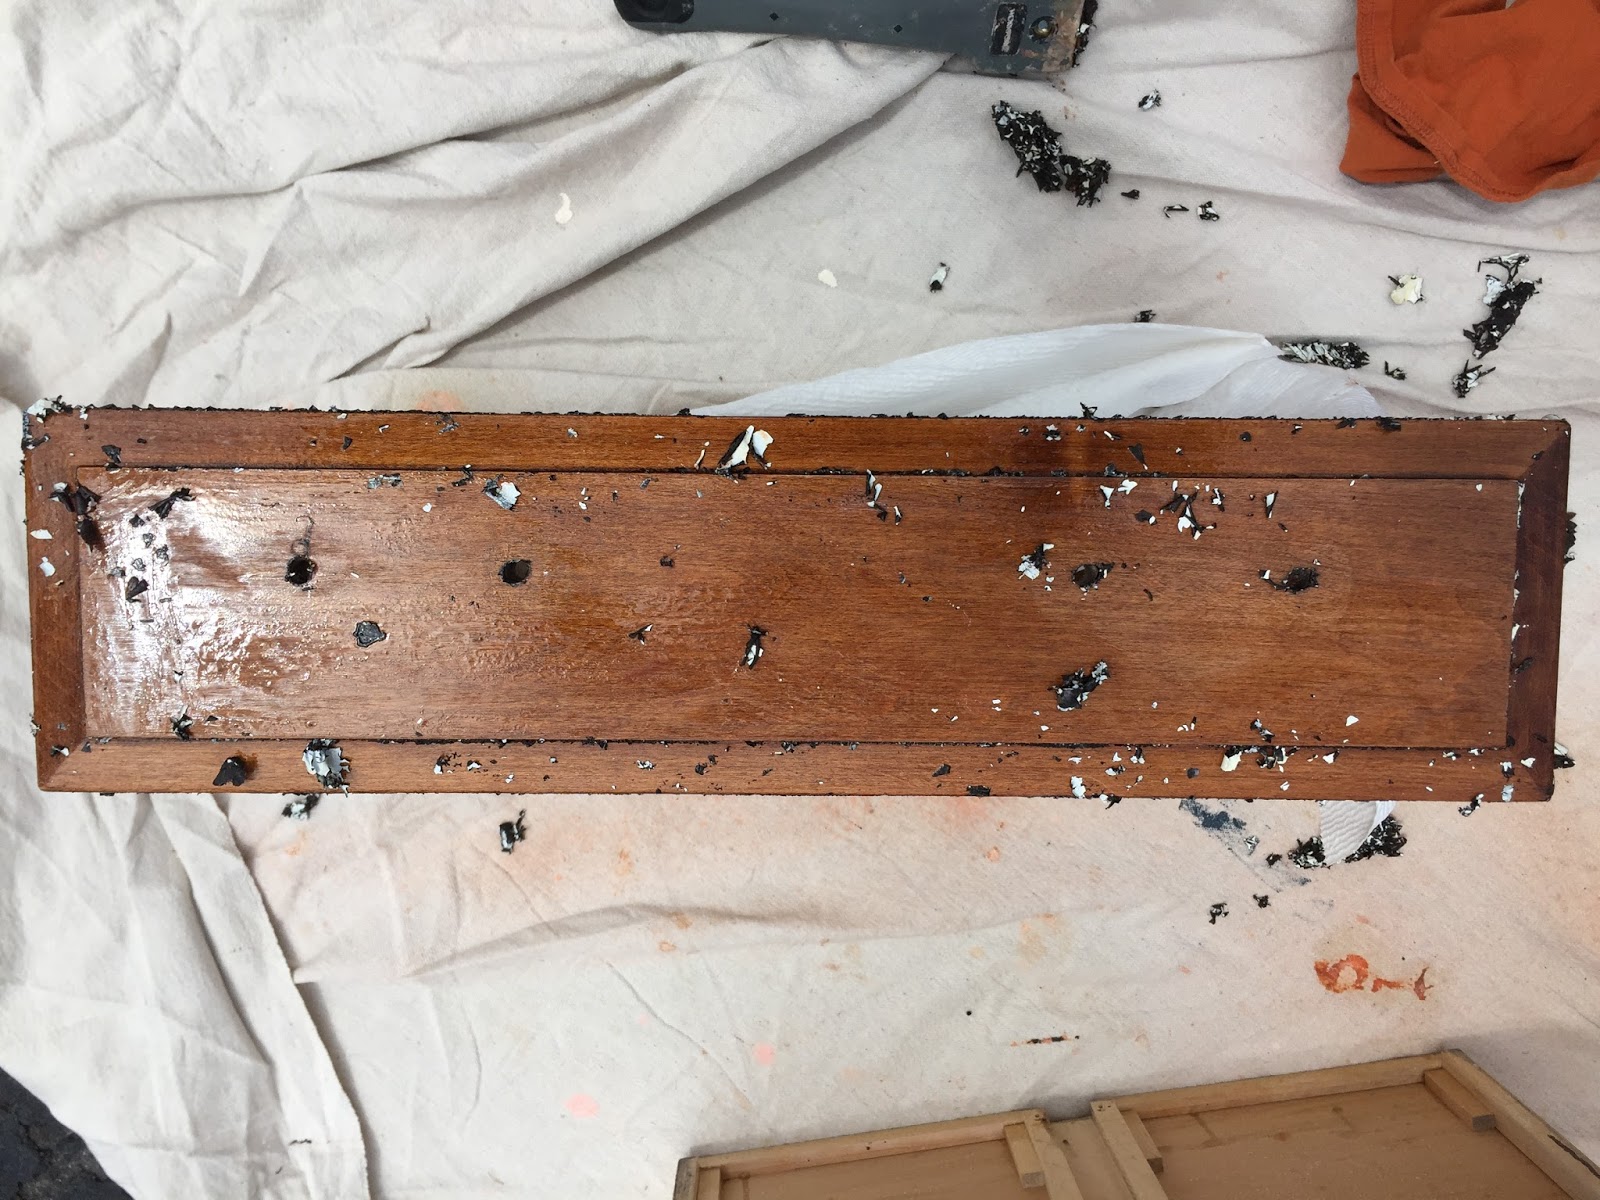
5.       You will get frustrated and want to give up.

 
These two spots are on the same wall. The one on the top didn't adhere because we didn't wait long enough for the plaster to dry.

Don’t rush, do it right the first time and you will not be disappointed.
 
6.       Things will constantly be dusty.
 
Did I just wash these floors yesterday? Yep!
My advice: cover the floors and electronics with plastic wraps, and stow away valuables .


7.       There are a lot of startup costs.
 
 
Maybe this isn’t your first rodeo, but for us it is. Wheelbarrows, ladders, paint supplies, mulch, and on and on and on. Borrow from friends or neighbors if you can, especially if you only need the tool for a short amount of time. If you need to invest in something that you will use over and over again spend the money. We tried to save money on some products that we needed by buying cheap quality but they were returned the next day. Ask your friends about the brands they trust.


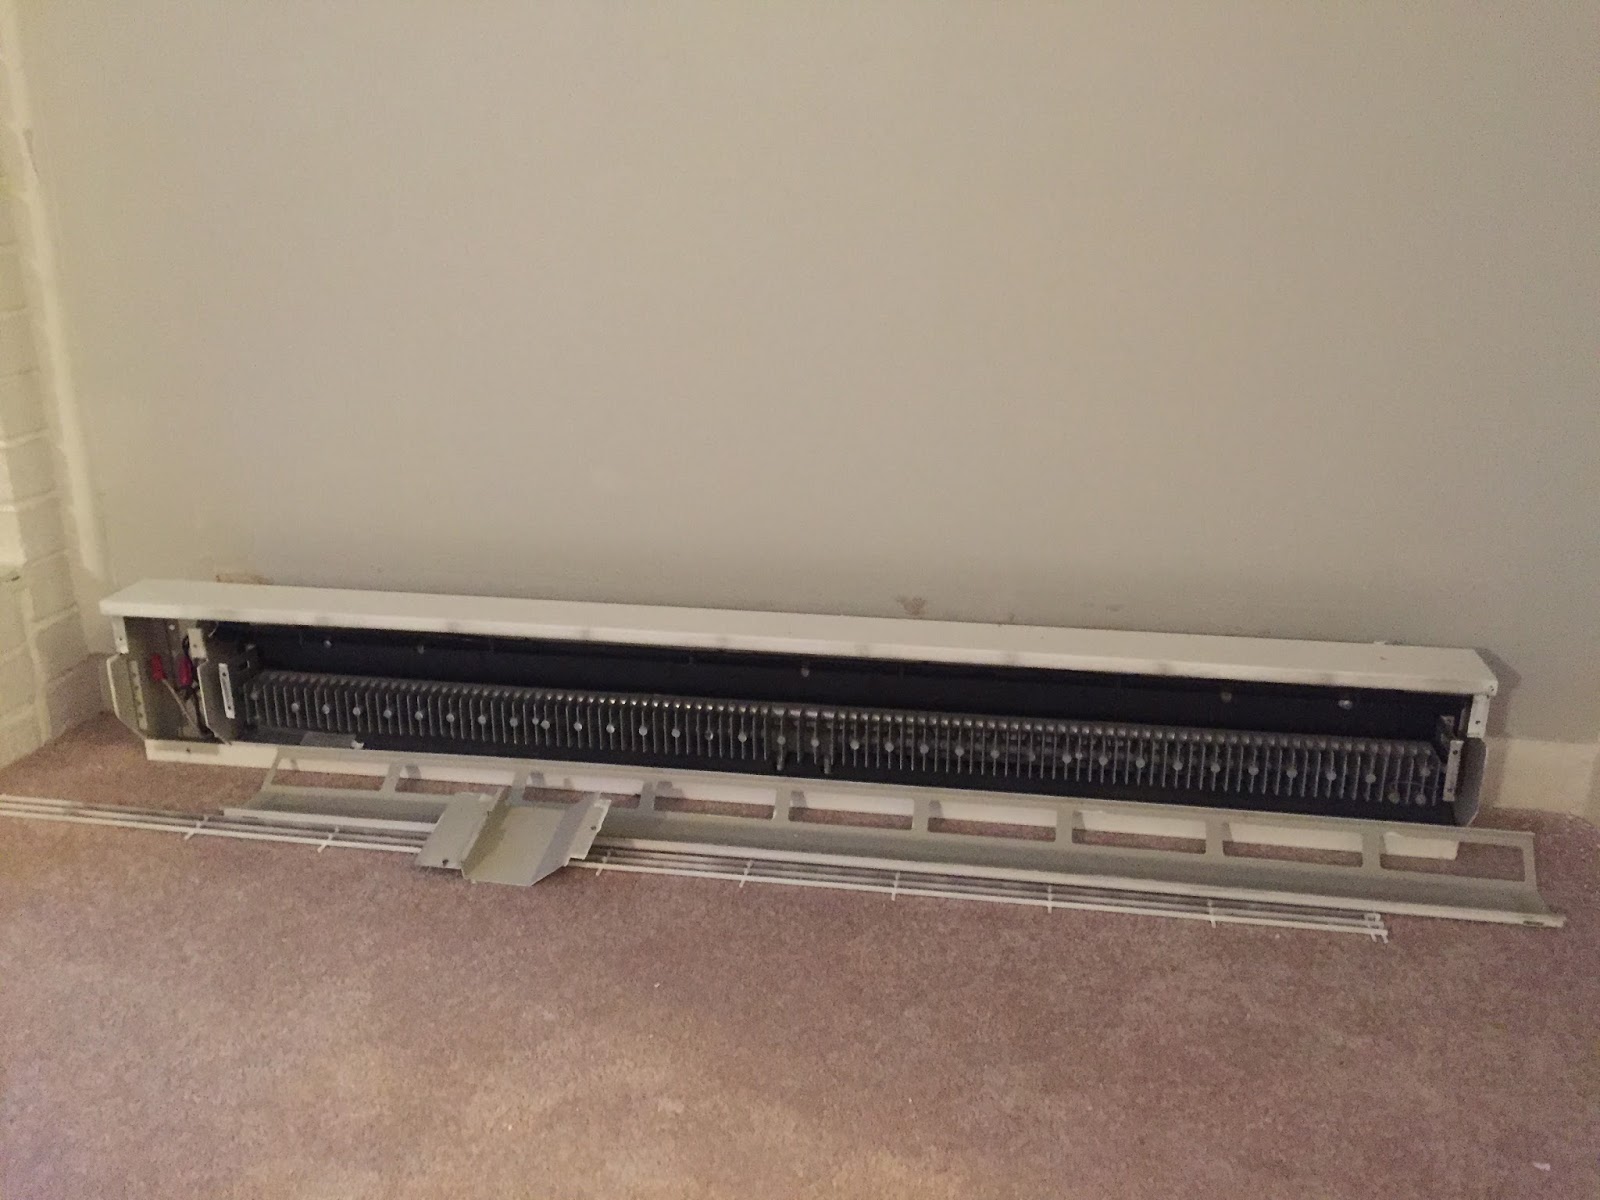
8.       Some things need to be left to an expert.

 
This is an electric baseboard heater: the most inefficient way to heat your home. We started to take them off the walls and put new drywall up.
 

When we figured out that taking of the heaters included electric work, drywall, and plaster work we decided two stop after taking two out. When we get our new heating system installed, the company will take the heaters out for us.
 
9.       Not all projects are created equal.


 Putting new trim in: Easy project. (As long as you buy the right size. Notice the quarter inch difference?) Taking down the wall that separates the kitchen from the living room: Not so easy. I asked my husband to look over my list and he suggested that new homeowners decide what they're willing to take on. Be realistic when it comes to the type of work you will need to complete to make your home livable.
 
10.   Some of the fun things have to come later.
 
My husband and I were so happy to buy a brand new bedroom set for our master bedroom after we got rid of our hand me down set. Then we realized we have some other priorities like paying for air conditioning. We settled on a $200 bedroom set in good condition that I'm going to paint (check back for updates!). The point is, new furniture is on hold until the necessities are taken care of.  No area rugs, light fixtures, or new bedroom set until we have air conditioning, painted walls , and a couch first.


Going through the second month of "fixing up" our fixer upper I can say it does get better. Take a look at all of the good work you have done and smile. Next week I'm featuring my pet project: the fireplace makeover! 

How I Turned Old Planters into New Outdoor Furniture

Sunday, August 7, 2016

One of the selling features of our home was the two acre lot we have. It’s tranquil, park-like, but with that beauty comes maintenance. With our attention on the inside of the house, we neglected to keep up the outside. That brings me to my outdoor furniture project. I was inspired by two different projects that I combined into one. They can be seen here and here.
 
Our backyard


The previous owners used the slab of concrete out in the yard as a fire pit spot. I wanted to convert it into a secondary seating area. Problem: new house= no money. I had to use what we already inherited from the previous owners as seating and tables.
 
 
I knew I wanted to spray paint these planters because they were faded grey and gross. I used steel wool pads and dish soap to scrub off the grime. After they dried I applied rubbing alcohol to get rid of all of the dirt.


Then I attached two planters together using liquid nails and let set for the recommended 24 hours. I created an ombre pattern with three different colors. The last coat was a glaze.
Wood will go on top here. See the ugly grey on the inside? That was the color of the outside before the project.
 
The final step is to place a piece of wood on the opening of the planters so guests can place their food/drinks down while they hang out. Check back in to see them in action. I plan on featuring these at our Housewarming Party!


See, it looks brighter already!