Pages

Copycat Barn Wood

Saturday, February 28, 2015


Negative: Pesky Pallets

Positive: Copycat Barn Wood

I’m still working on making Cheap and Easy Wedding Gifts for my upcoming wedding. I wanted to use pallet wood, somewhat rustic and beat up, for this project, but I don’t really get along with pallets.

Please comment below if you have had a similar experience:

1.       Your pallet was filled with an unnecessary amount of rusted nails and staples.

2.       Half of the wood was rotted.

3.       You’re just about to pry part of the pallet you need off and the wood snaps in half.

Here’s a Barn Wood Copycat Technique I’ve used that works:

1.       Paint on a coat of water

2.       Stain over the water

3.       Wipe off the stain almost immediately
 
From top left: Plain wood, water.
From bottom left: Stain on top of water, board dried after stain.
 

The stain on the left is the same stain I used on the right, except I used water beforehand on the right.

What I love: I don’t have to hunt for pallets every weekend.

What I would change: The wood is still too smooth. Currently looking into ways to “rough up” the wood. Any suggestions?


Status: Not for Sale
Kids Reading Lounge

Sunday, February 22, 2015

 
Negative: No homework
 
Positive: Fun classroom memories
 
My middle school students don’t complete their homework regularly. So the first marking period of the year I always have a homework competition. Each class total is averaged at the end of the marking period.
Last year, the winners received a game day. I decided to create something this year, A Reading Lounge! Studies show that if students have access to materials, they are more likely to read. Because we don’t have a library, I provided my own.
 
The winning class had the option to choose from beach theme, school pride, and neon, and neon won!
 
To achieve this look, I taped the chairs in a random geometrical pattern, each child was able to choose a section they wanted to paint.
When the tape is removed it gives a zig zag effect.


Before:
 
After:
 
What I love: The kids can see their fingerprints or where they put their name in the paint. Some days, I use the reading lounge as a reward for hitting a skill they were learning, at other times the students ask me if they can sit there to do work together. The project was inexpensive (I purchased them used) and completely worth an hour on a Friday.


What I would change: I would use a sealant or protective coat. I didn't want to expose the kids to fumes so I skipped that step, but some paint is coming off from the wear and tear.
Don’t Forget: When working with kids have them bring in an oversized paint shirt!
Status: Not for Sale

Chic Cavnas Art

Sunday, February 15, 2015


When staging my designs, I try to keep the accessories cost effective and easily adaptive. For this look you will need:

-canvas
-fabric
-stapler

1. Cut your fabric to the size of your canvas.

2. Leave at least one inch excess to staple securely.

3. Wrap your canvas with fabric.

4. Staple in place.


 Tips to Consider:

- contrast solids and patterns or a more discreet pattern (such as the blue with silver pattern) with a more prominent design (like the French script in grey)

-Position one canvas slightly below/above the others to highlight that particular canvas

-Remember: A quick staple removal and you can recover the canvas with another print, this design is versatile, so the canvas in your office can easily transform into nursery artwork


White Bedroom Set Update


Before:


During:


After:


Status: Dresser and End Tables: Sold
Bedframe, Mattress, Box spring, and Headboard (bedding and artwork included): Sold


Not in the CT/MA area? Here's how to copycat my Chic Canvas Art
 

Cheap and Easy Wedding Gift

Saturday, February 7, 2015


Negative: Pretty but Pricey Etsy Listings
 
Positive: Sweet and Sentimental DIY Gifts
 
I wanted to give my officiant (who is also my uncle) a gift for doing us the honor of marrying us this June. I found the cutest frames on Etsy. They all consisted of a piece of wood, a quote, and a picture. The quotes vary from “Thank you for raising the man of my dreams” to “Today a bride, tomorrow a wife, always your little girl.” Although they were cute, they just didn’t convey the message I wanted to send to my uncle. Plus, the prices started at $60-$75.
How I made my positive:
Before:
I cut the board so that it would fit my two frames and a quote in the center.

 
I sanded, primed, and painted in white.


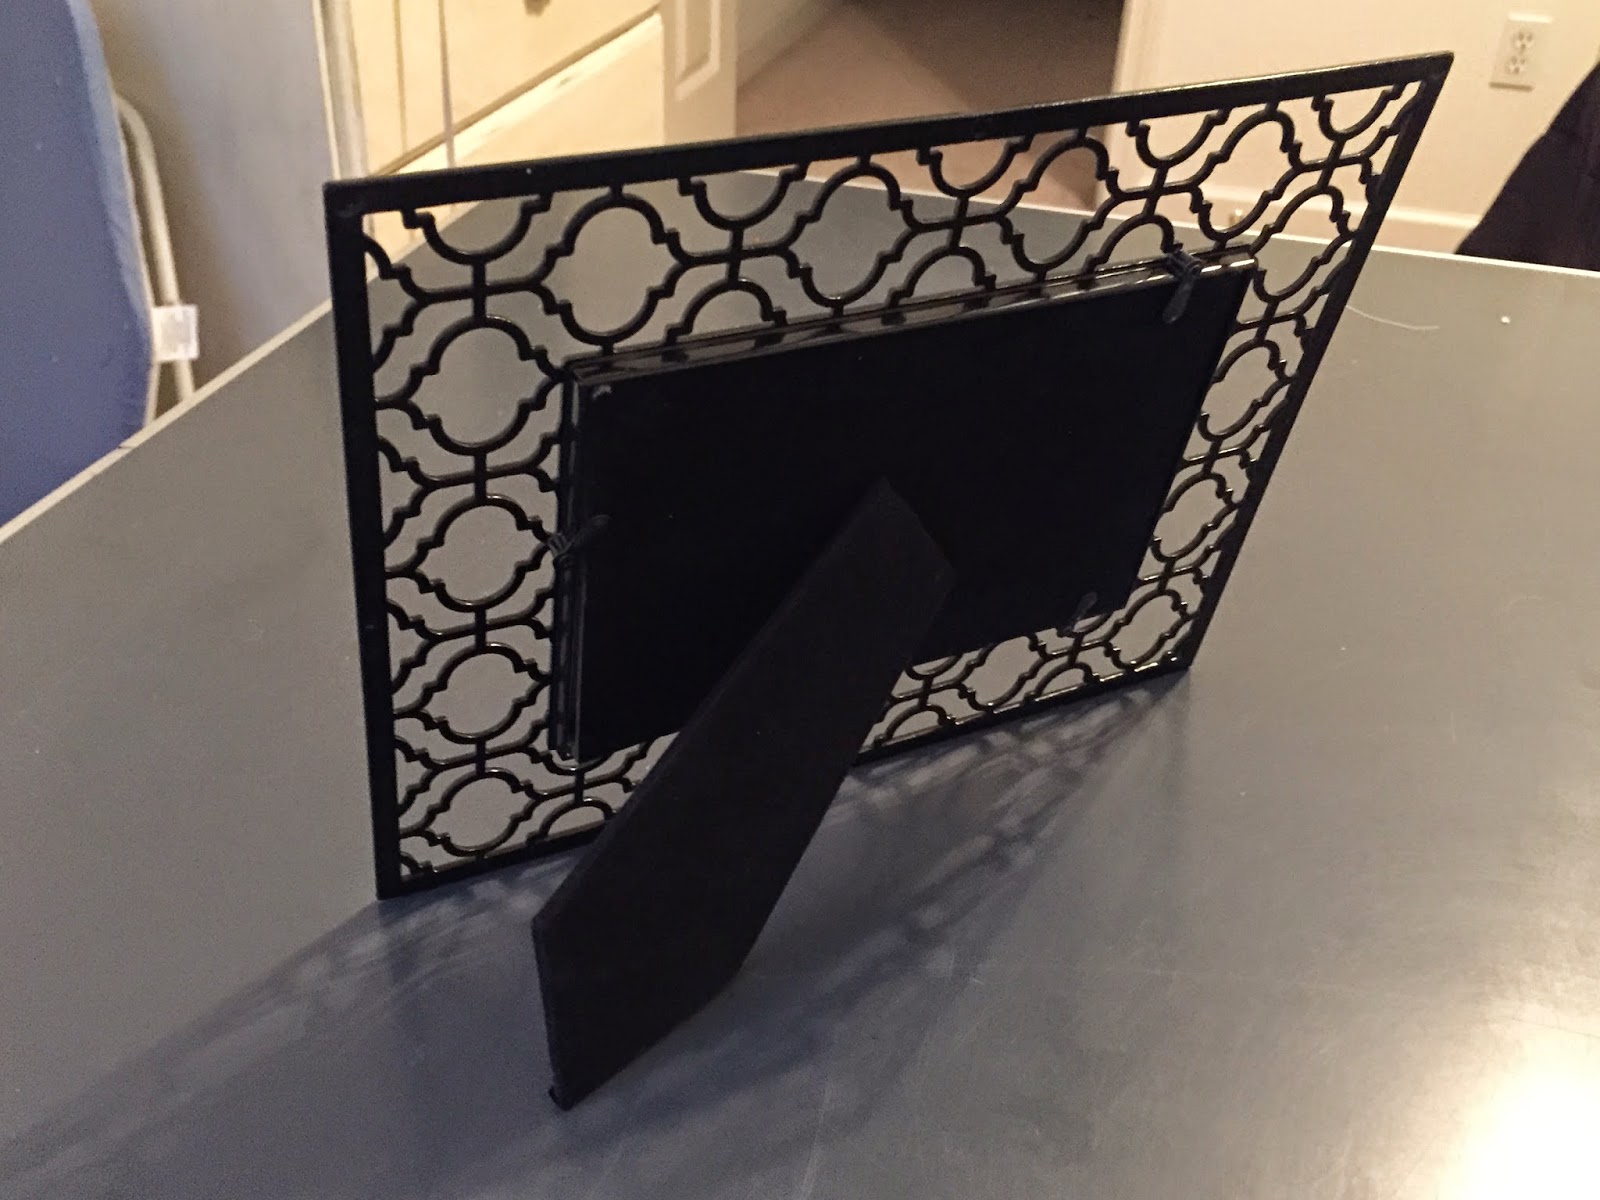
While I waited I pulled the stand on the back of the frames off so the frames would lay flat on the board.


I used two nails per picture frame to hold them in place.
 

After paint:


What I love: The total cost of my project was the price of the frames ($20). I already had the wood, primer, and paint. I will be making more as gifts but staining the wood instead of painting. Will update soon!
What I would change: I need a quote to go in the center. Any suggestions?
Status: Not for Sale