I love to hear furniture transformation stories especially from people who have tried to paint furniture for the first time. I get a lot of questions from first time furniture flippers and thought I would put my advice in a simple, easy to follow, step by step format. Here are the steps you will need to paint furniture yourself!
1.
Clean
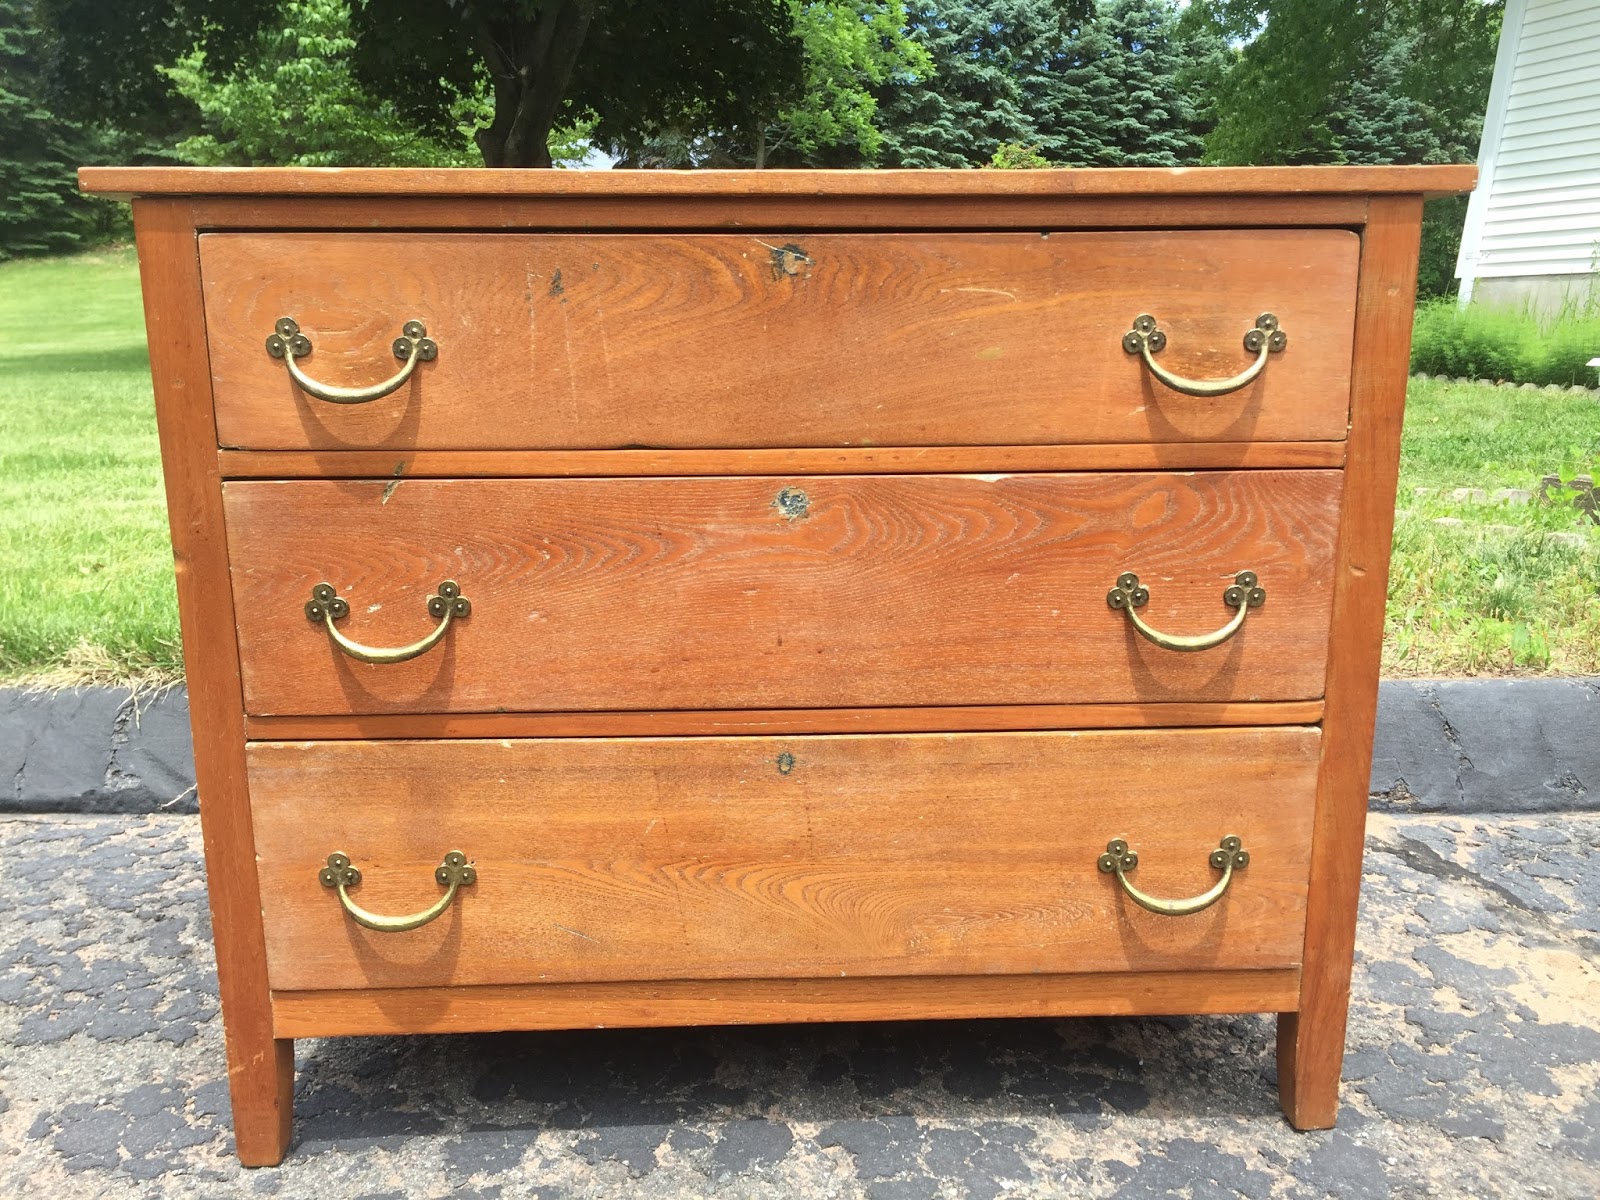
Whether you picked your piece up from the side of the road or you keep it
safely in your home, clean the piece thoroughly so your paint adheres properly.
Decide which cleaning agent is best for the type of material you're working with; my suggestion would be TSP. It's meant for cleaning walls and furniture before painting. Pesky pieces of hair and dust can
even get in the way. I use a paint and stain cloth from Home Depot that pick up every last piece of debris.
 |
| Before cleaning. |
 |
| After cleaning. |
2.
Fix/Prep
Does your piece need fixing? Identify broken pieces, scratches, stains, etc. I use
wood filler for smaller issues. Under the “prep” category you may want to
remove the existing finish with a paint stripper. I've found the least offensive odor from Citristrip. My advice is to be patient and read all instructions for dry time on any product you use. Try to take shortcuts and you may regret it
later. This is also a good time to add or take away any parts of the
furniture. For example, if you are taking out a drawer and replacing it with a
shelf. Also, remove any hardware at this time.
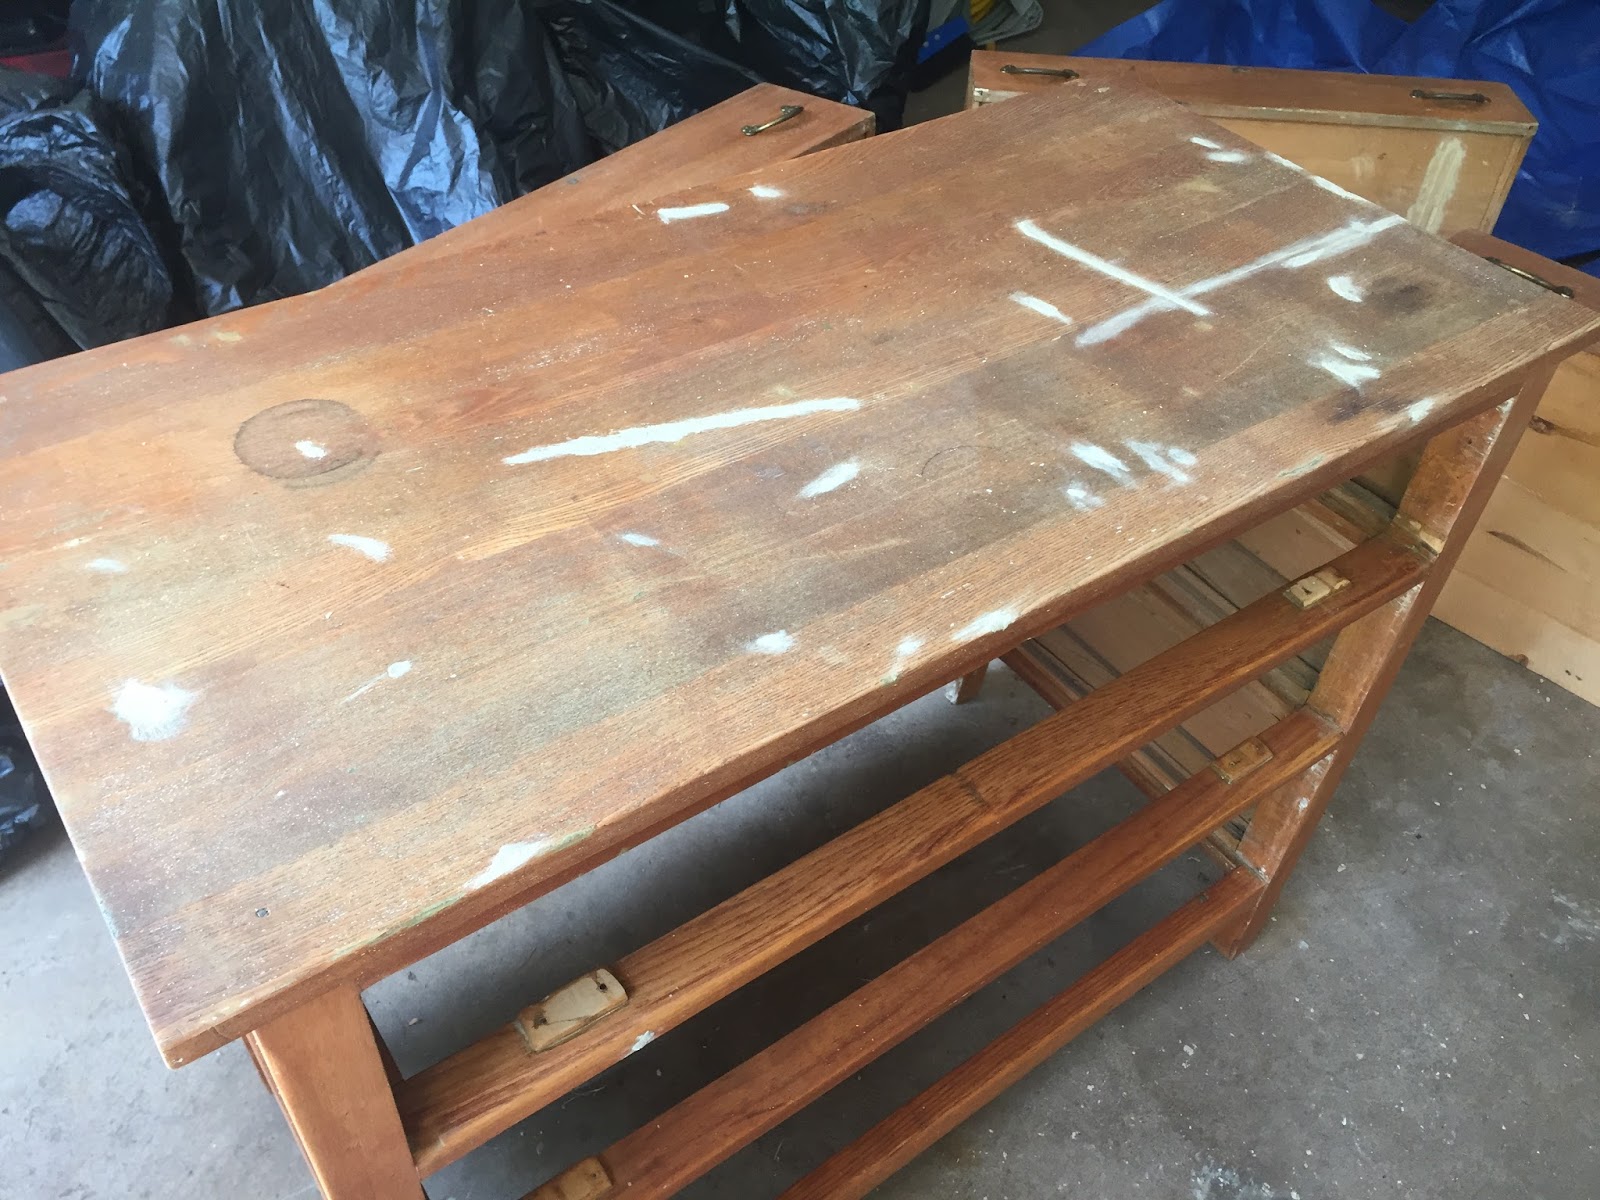 |
| Filling in the holes and scratches on this previously distressed piece. |

3.
Sand
Sanding your piece makes sure that all of the imperfections are blended
in after you have made repairs and prepares the surface for paint. Some advice
I received for sanding wood that will be stained instead of painted is that you
shouldn’t use anything below 120 grit.
 |
| Before sanding. |

 |
| After sanding. |
4.
Clean
After you sand your piece you will need to clean the piece again to make
sure all of the dust is gone.
*Tip: Tape any parts of the piece you do not want painted. This means you
may need to tape up hardware if you are not removing it.


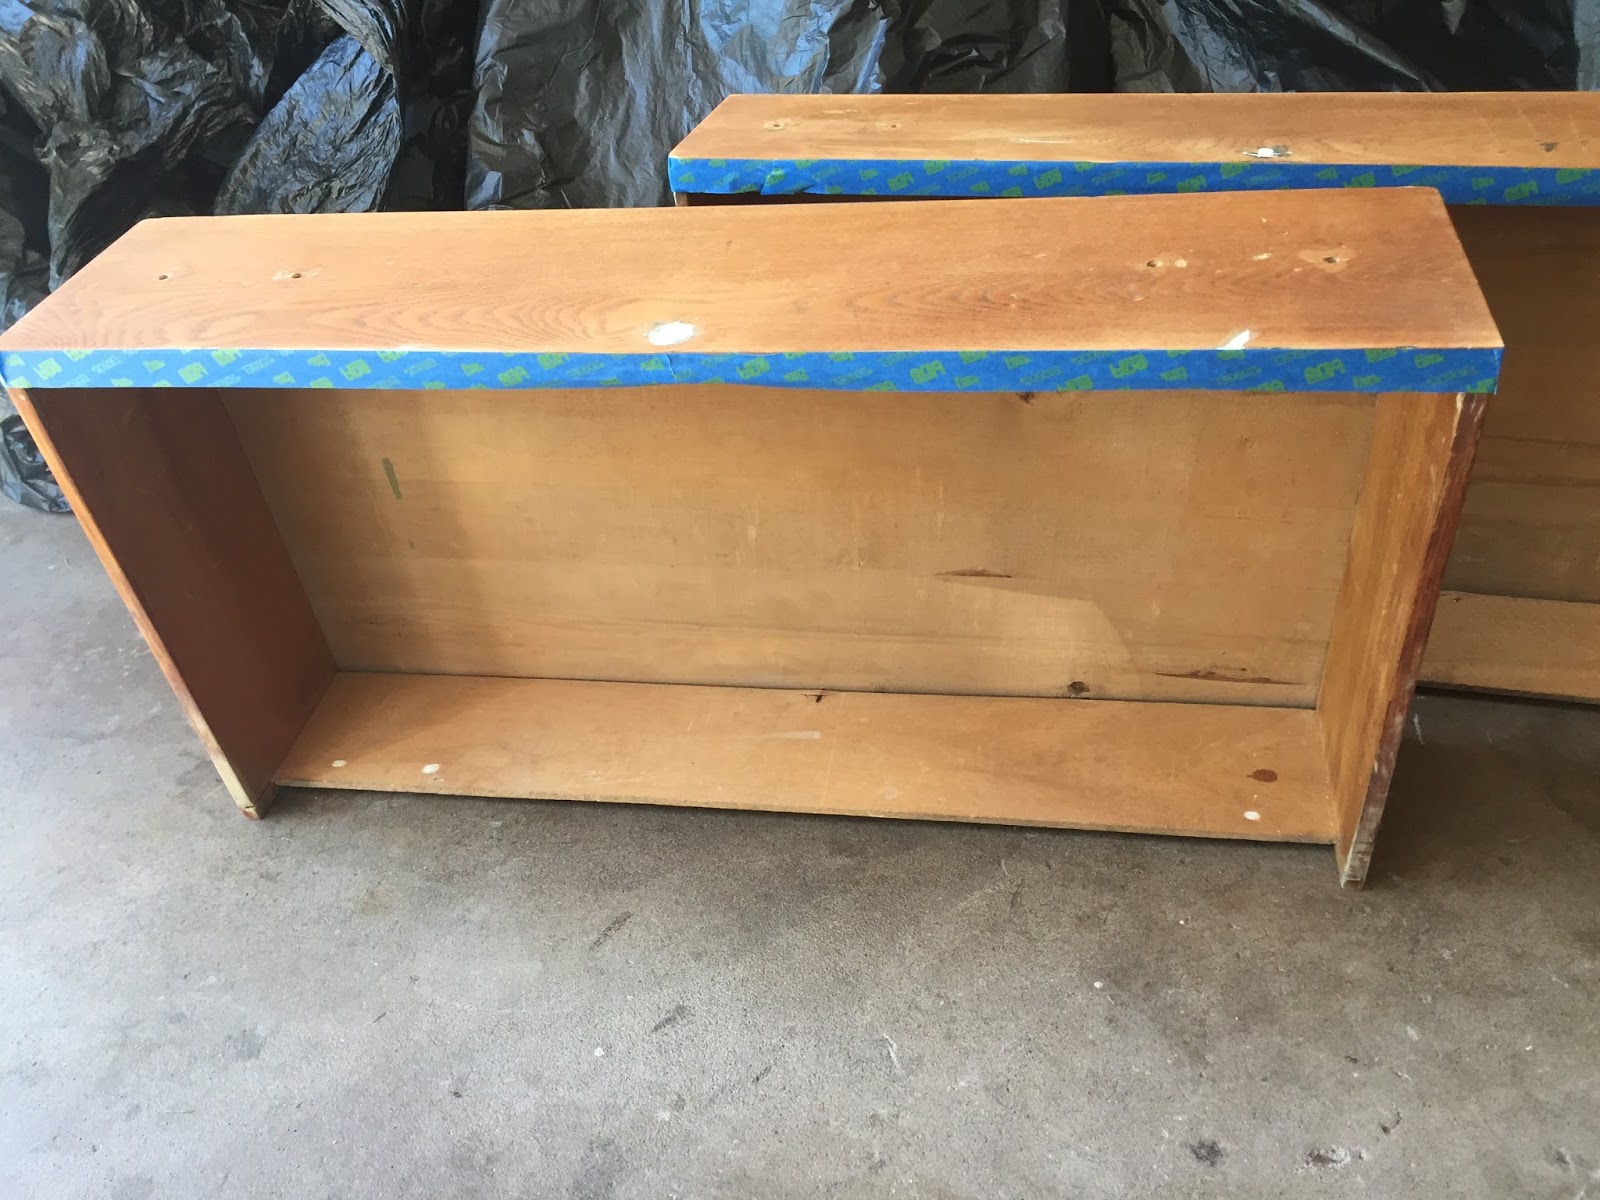
 |
| Paint will drip inside the holes of the missing hardware if you don't tape them. |
5.
Prime
This step is debatable because you can easily use a paint that has primer
in it. When painting with a lighter color use a white primer. When painting
with a darker color use a grey primer.
6.
Paint
Figure out which instrument you would like paint with: spray paint can,
foam roller, paint brush, chalk paint brush. Each has their own technique,
advantages and disadvantages. The higher quality tool you use the less likely
you will see paint brush strokes.

7.
Seal
After the paint has adequately dried you will need to apply a sealant. You
may want to look into your choices like polyurethane, polycyclic, and wax for
example.


8.
Dry
I
believe this should be listed as a step because without waiting for dry time,
you may need to repeat steps 1-7. Read the suggested dry time for the finishing
product you chose as well as the conditions it should dry in. Without this step
paint can peel or crack, items may stick to the paint and the finish can rub
off.


If you're not interested in doing it yourself or don't have the time, let me know! I can take a look at your piece and give you a quote for the work that will need to be done. Anything can be transformed!
No comments:
Post a Comment