A client needed a long and skinny sofa table to complement her living room. After I stained the table the first thing my husband said was, “Do you want to redo our living room shelves in this color?” It’s called Special Walnut by Minwax. It’s 6 feet long, 3 feet tall, and 11 inches deep. A fan of dark wood myself I wouldn’t have picked Special Walnut for my own home, but it fits perfectly in her living room!
Sofa Table in Special Walnut Stain
Sunday, September 25, 2016
A client needed a long and skinny sofa table to complement her living room. After I stained the table the first thing my husband said was, “Do you want to redo our living room shelves in this color?” It’s called Special Walnut by Minwax. It’s 6 feet long, 3 feet tall, and 11 inches deep. A fan of dark wood myself I wouldn’t have picked Special Walnut for my own home, but it fits perfectly in her living room!
Saturday, September 17, 2016
I loved the shelves I made for a
little girl’s nursery so much that I knew I wanted to use the same design in my
own home. This time, instead of two feet long I wanted them to be six feet
long.
I showed my husband my plans and
according to him it looked “too cluttered”. So the compromise we came up with
was two shelves instead of three and I think it looks perfect! The stain on the shelves is Minwax Red Oak.
We knew we wanted to mix regular
picture frames, 4x6 and 5x7, with the two canvas photos we had from the wedding. The sunset
picture on the top is actually a picture from a sunset cruise we took around
Diamondhead Crater on our honeymoon.
![]() |
| A housewarming gift from our good friends :) |
Can you believe this photo of the same wall was taken just three months ago?
Sunday, September 11, 2016
We
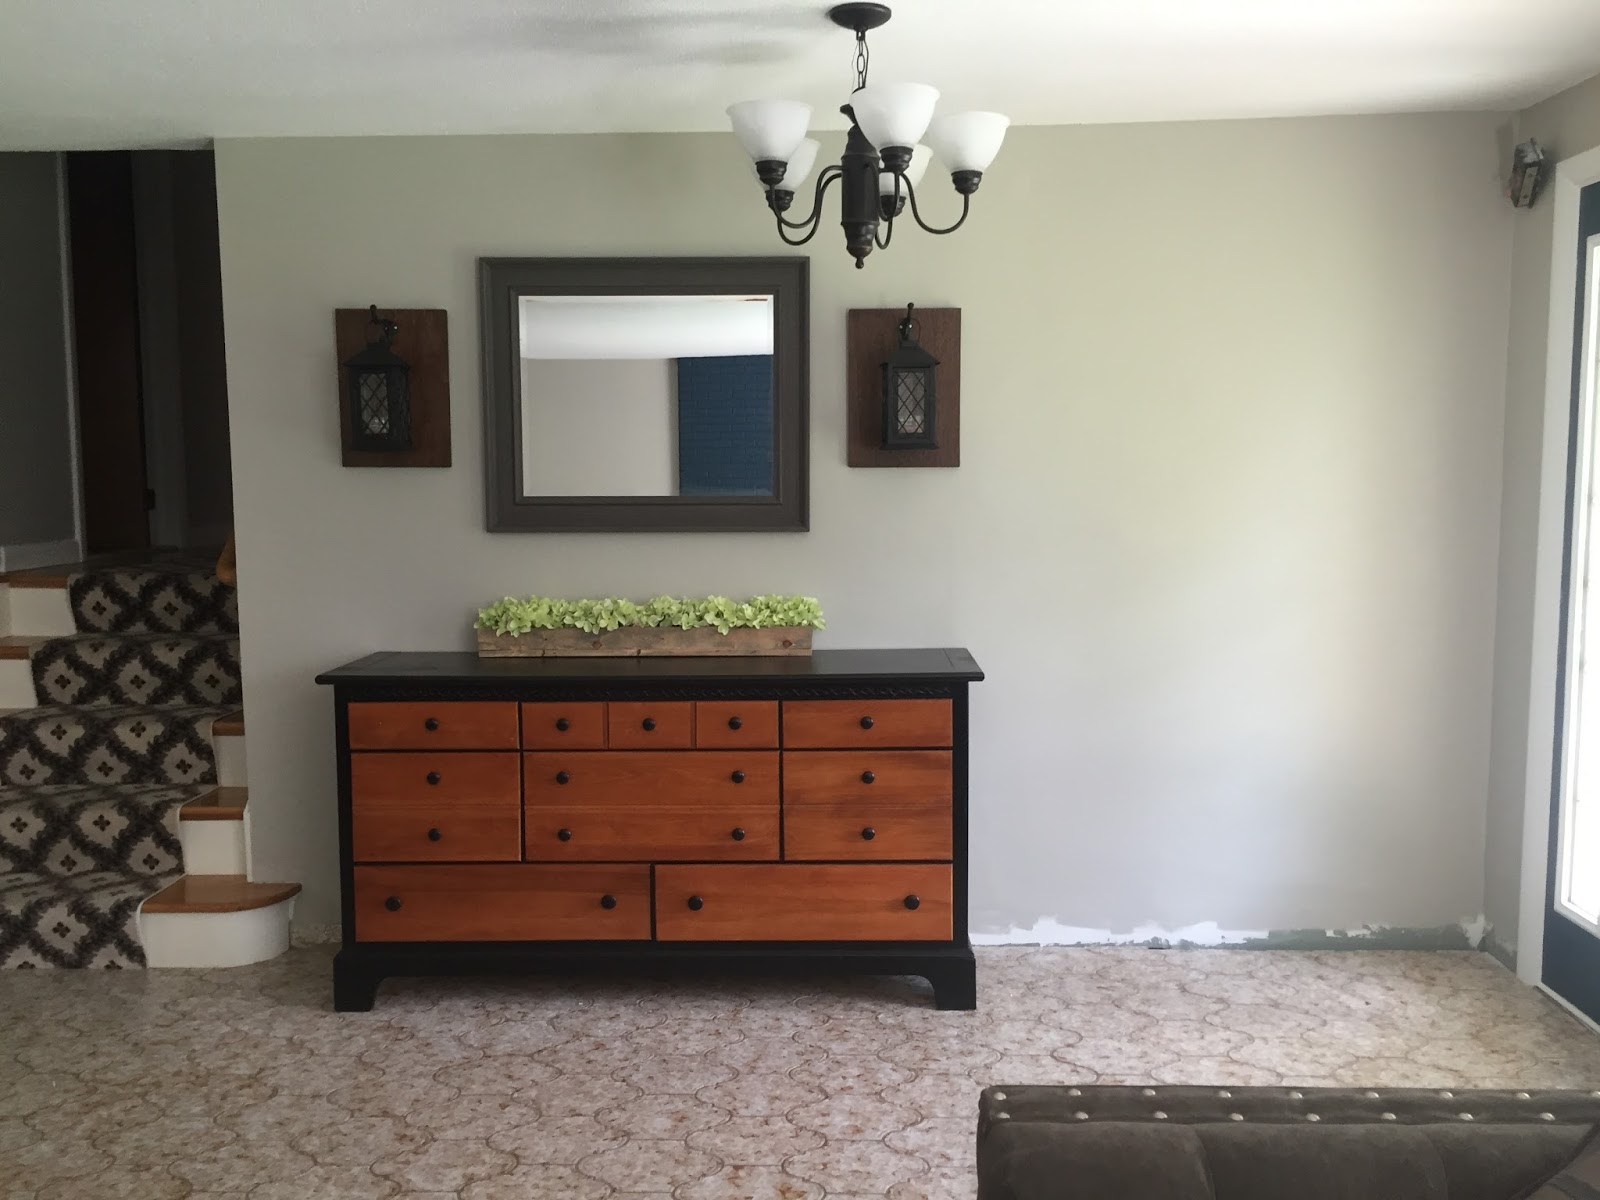
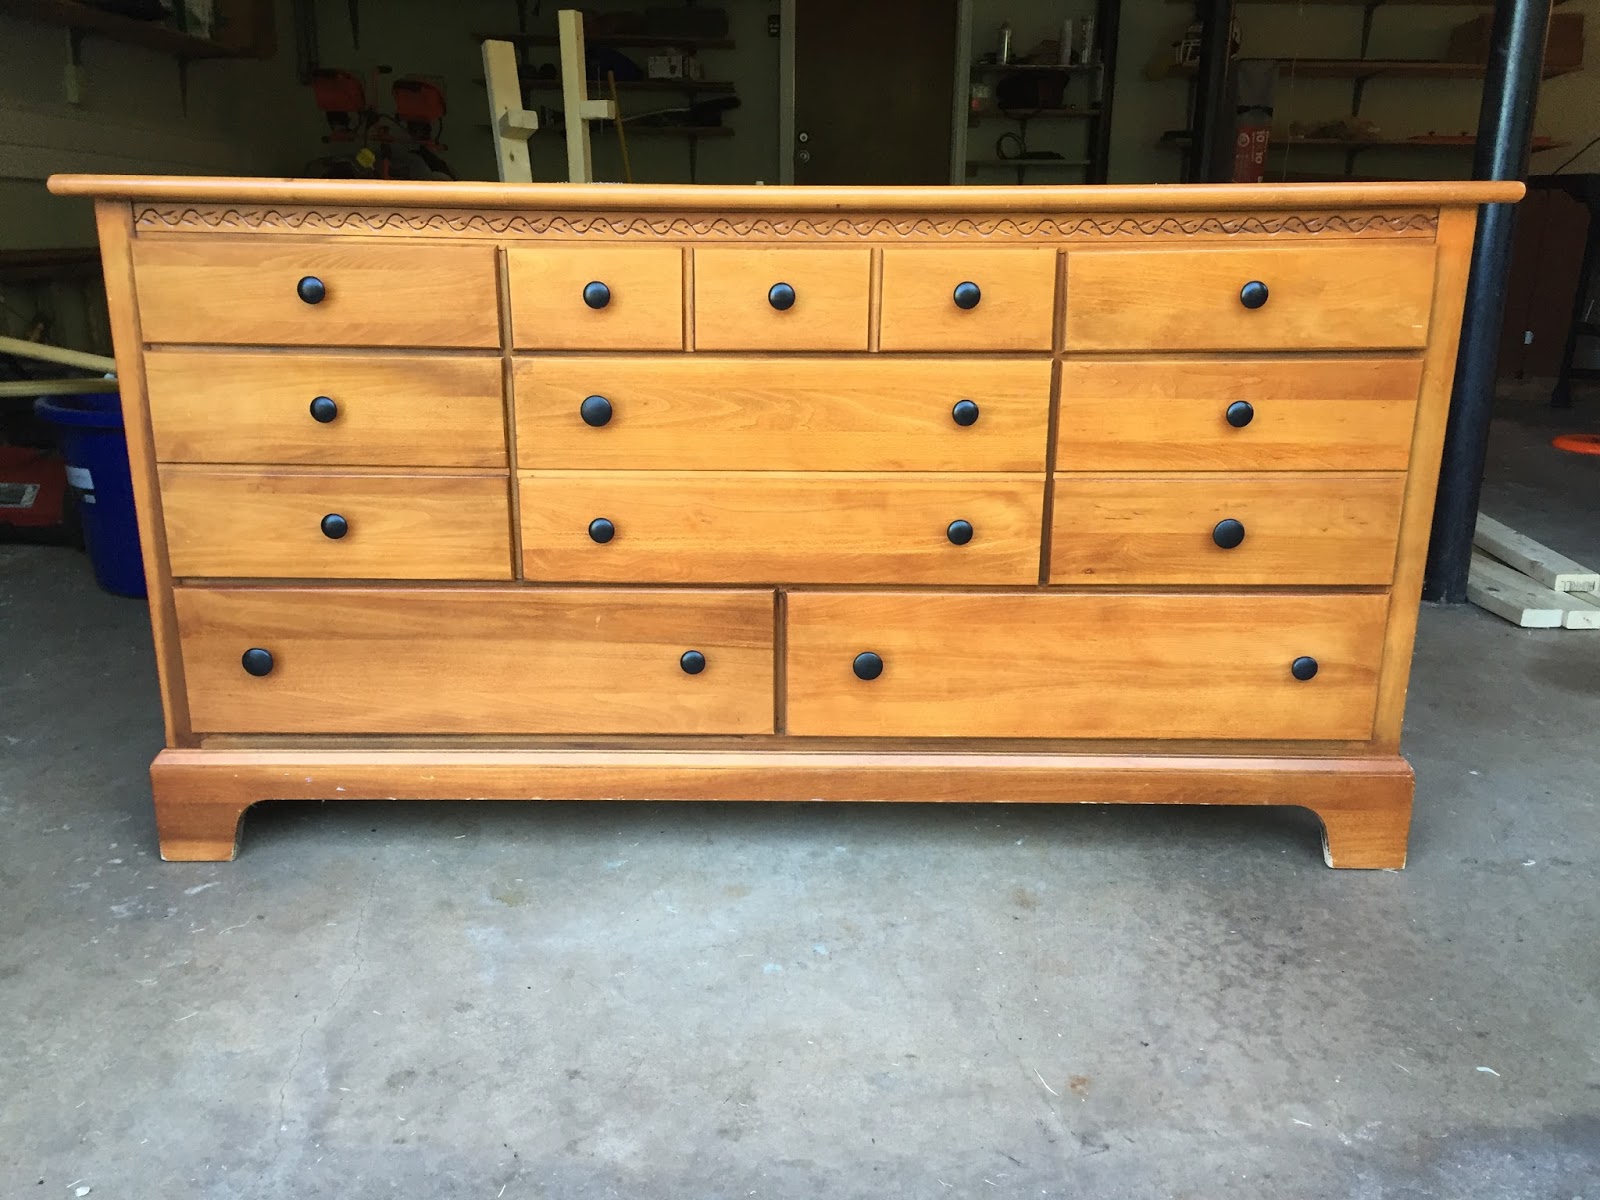
scored a great deal on a bedroom set from a family moving out of the country.
Three dressers and two nightstands for $100. We didn’t exactly need three
dressers in the master bedroom and I had ran out of time to make our own
sideboard for our entrance way. That’s when I thought, one of the dressers was
too bulky for our bedroom but the perfect size for our front entrance.
My vision for this wall was more of a sofa table with open shelving. The reason
why the dresser is a better fit for us is that it hid all of our last minute
tools/party supplies.
![]() |
| Before |
![]() |
| After |
![]() |
| Before |
![]() |
| Before |
![]() |
| During-- we decided the color was too "baby blue" |
![]() |
| After |
Have
you repurposed a piece of furniture for something other than its original use?
Post a photo below!
Sunday, September 4, 2016
If
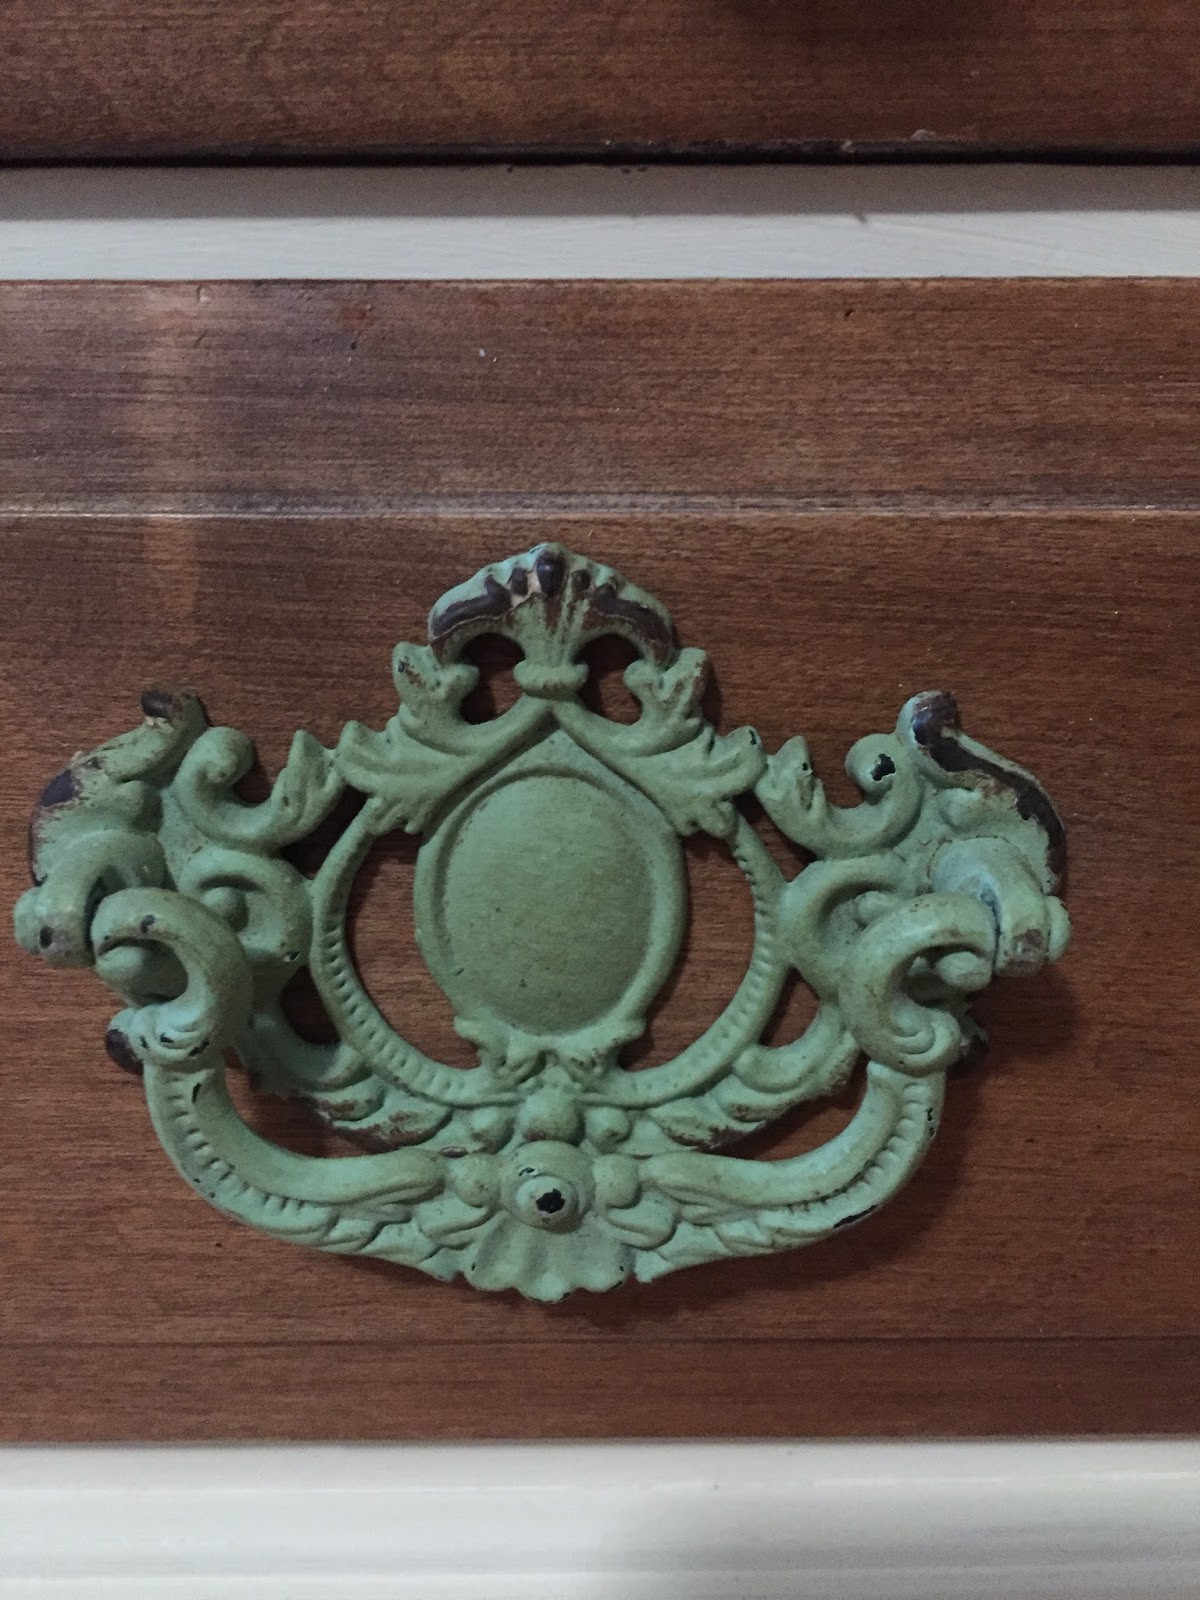
you’re like me you’re a sucker for pretty knobs. I’ll even buy drawer pulls
with no specific furniture piece in mind for them to go on.
I’ll
teach you one easy trick to get your perfect pulls to fit.
Insert
your knob.
My
new pull was large enough to cover up the old hold. However, if yours doesn’t
try wood filler.
Did
the hole come out way too big? Use a washer to make sure the nut fits securely. Too small? Use the next size bit up.
See this nightstand's transformation here.
Sunday, August 28, 2016
After
buying our house just two short months ago, the budget for new furniture was slim. My
mom is coming to town for our housewarming party and I wanted her to at least
have a nightstand to charge her phone, have a glass of water, etc. It just so
happened that our neighbor was moving out and left a pile out on the curb labeled
“free”.
I
wish I would have taken a before picture of this petite side table. It was a
glossy black with polished nickel knobs. This project needed to be stripped and
brought back to life!
For
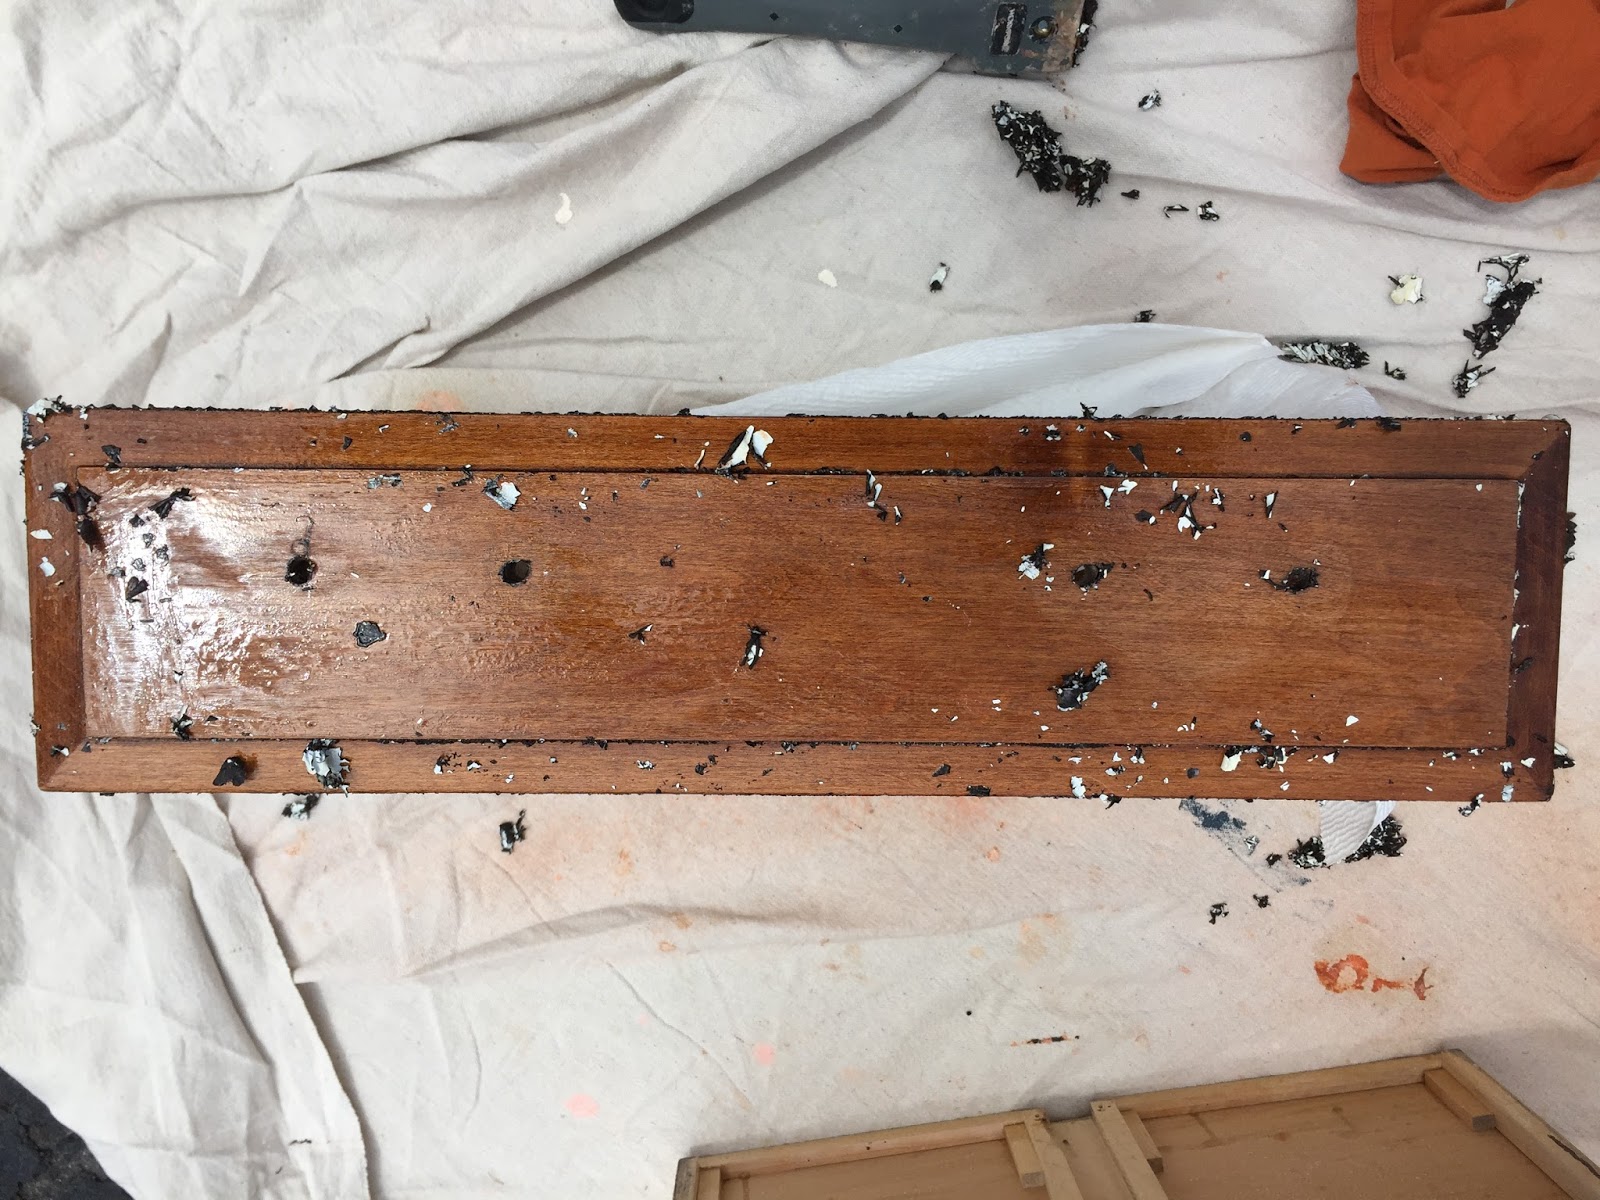
the first coat of the paint stripper (I use Citristrip) I discovered that the
black glossy spray paint was on top of a white coat of paint. The
paint dripped off in big globs but left a lot of residue.
I
realized I needed to strip it again but only in a few pesky portions. This time
I paid attention to the details. Using a wire brush set I was able to get into
the nooks and crannies. I also used Q tips to help dig out the goo and also to
clean the piece with denatured alcohol once I was done.
I
love the two toned look and had leftover white chalk paint so it was kind of a
no brainer. I left the drawers bare because they paint came off so easily and I
wanted the integrity of the original piece to shine through.

Follow up with me on this project and see how I was able to get these drawer pulls to fit even though they were just a little bit too big: here!

Sunday, August 21, 2016
Paint
it a BEAUTIFUL, BOLD color!
When
we bought our house I liked the white brick on the fireplace surround. Then we
started to paint and the beige color on the wall made the white fireplace look
off-white and dirty. I wanted the fireplace to stand out, not blend into the
wall.

If
your fireplace is already painted then you have saved yourself a few steps
(cleaning and priming). I used a tack cloth to wipe off any dust. We picked
Benjamin Moore’s Gentleman’s Grey in eggshell to complement our living room
wall color (soon to be completed!). I painted with a roller first (which you
could skip since it didn’t provide much coverage). Then I hand painted each
brick twice. (What I really mean is my friend Tina did the majority of the work
while I stressed out over my spilled paint!).
The
trickiest part of this project was painting the brick on the bottom that
bordered the carpet. The tape didn’t stick to the carpet at all. I used a small
detail paint brush and a wallpaper scraper! (I knew they’d come in handy
again). I pushed the carpet down so I could get to the brick and then wiped the
scraper off each time I painted to avoid leftover paint from getting on the
carpet.
Tips
for painting your fireplace:
1.
Use a handy paint pail or paint trim cup to hold while painting. I
spilled the paint on my carpet because I was using a small coffee cup and it
tipped over while I was trying to fill it.
2.
Consider covering up parts of the wall close to
the fireplace. We were painting the living room walls again anyways so it was
okay that we got some of the blue on the beige, but that might not be okay if
your walls are already painted.
3.
Think about ways you can incorporate this new bold
color into the design of the room. We’re using the same color on our front
door. Can you use this new bold color in a few pillows, some artwork, a new
rug? A new color may change the whole look of your room!
Subscribe to:
Posts (Atom)