Pages

Guest Bedroom Paint Colors

Saturday, November 12, 2016

After a housewarming party, baby shower, Halloween party, and new kitten, we are finally getting around to the first guest bedroom. Because of the lingering nightmares of taking down the wallpaper in the living room, see here, I was not excited to do that all over again. However…choosing paint colors usually gets me in the mood to start tearing down wallpaper. Plus, the current wallpaper was used in our Halloween party so the fake blood really won’t bode well for guests after October 31st. Plus, it’s only one wall of wallpaper. It can't be that bad right?


The previous owners had somewhat of an idea of what we are looking to do, a feature wall. Their feature wall just happened to be wallpapered. We picked Polo Blue for the feature wall and were looking for a neutral for the three walls that was NOT GRAY. We already used Revere Pewter in the living room, a perfect greige (see here), and then Thunder, dark gray, in our master bedroom.
Our choices were Gray Sky (I know, I know), Sweet Innocence, and Genesis White. (All colors are Benjamin Moore by the way).


For me, the Sweet Innocence was a little too purple-y. And my husband thought it was a little gray. So we had to choose between Gray Sky and Genesis White. And we chose….
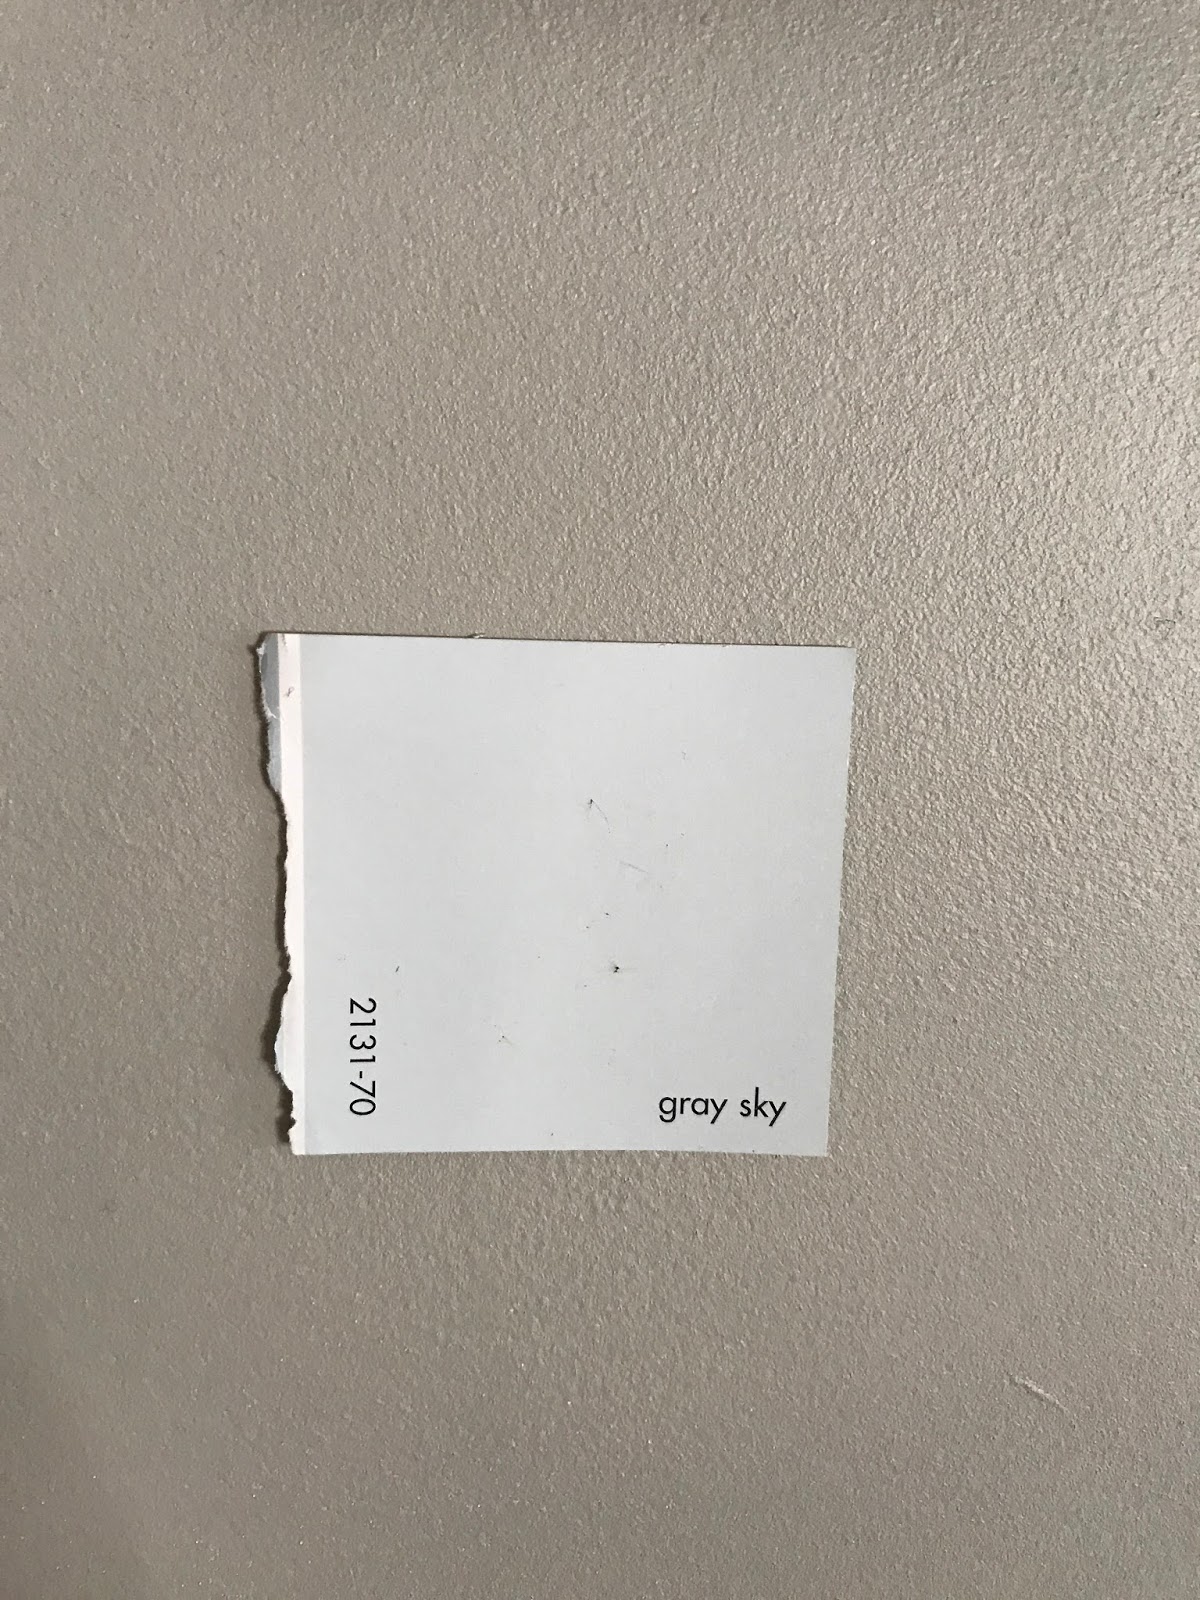

 
Gray Sky!
 

Gray Sky is on the left with Polo Blue right next to it.


Gray Sky is on the left with Polo Blue right next to it.

I guess we just can’t shake the gray! I really like it because I feel like its brightness will contrast well with the dark blue. And, it has a light blue sheen to it.

 Check back in with us soon for the final result!
 

2 Year Blogging Anniversary

Sunday, November 6, 2016

This year, I will be gifting a student with a poetry inspired bookcase!
A little bit about this student, let's call her "A".  
A is a senior setting her sights on schools like Yale and Harvard (having interviewed with both).
She takes one of my classes and stays after class to talk to me about how she can help me with my other classes. She has mentored my younger students by sharing her poetry and helping them with their own writing.
 
Through some conversation I found out she has a desk but not a  bookshelf. I wanted to give her something compact that she would need and could take with her to a college dorm.
 
This poetry inspired bookcase is decoupaged with poems from some of her favorite authors. Then I hand painted some lines of poetry that I think speak to her character. She is a young woman who has had to go through a lot of challenges and will continue to work through any obstacles to get what she wants, a Journalism degree from one of our top Universities!
 
Good Luck A! I know you will make a difference in the world!


Bringing a New Kitten into Your New Home While You’re Renovating

Sunday, October 30, 2016


If you’ve been following my journey you know that we bought a fixer upper and have had a few projects going on. Projects that would be messy for a new kitten to navigate. Here’s how we brought our new kitten into our new home.
 
Meet Sam. Very skeptical about his new home.
 

1.       Introduce your kitten to one room at a time.

We are keeping Sam in the guest bedroom since it will not be used often. This room is also not a priority for us to renovate at the moment so he can stay in here for a while before we truly need it.
 

2.       Keep rooms with projects off limits.

              If one space needs to be under renovation, then keep it off limits. The basement has lead tape on the fireplace and tools lying about that need to be stowed away. No place for the kitten yet, so the basement door stays closed.


3.       Pick up tools and debris in common areas.

In places that still need work, get the work done but then clean up thoroughly! We have painting, spackling, and electrical work going on in the living room and master bedroom which means tiny pieces get everywhere. I wipe up or vacuum after each project, even if I’m not done and just want to take a break.
 
 Slowly making his way out.


How did you introduce your furry friend to your home? Share your tips below!

DIY Fire Pit for Two

Saturday, October 22, 2016

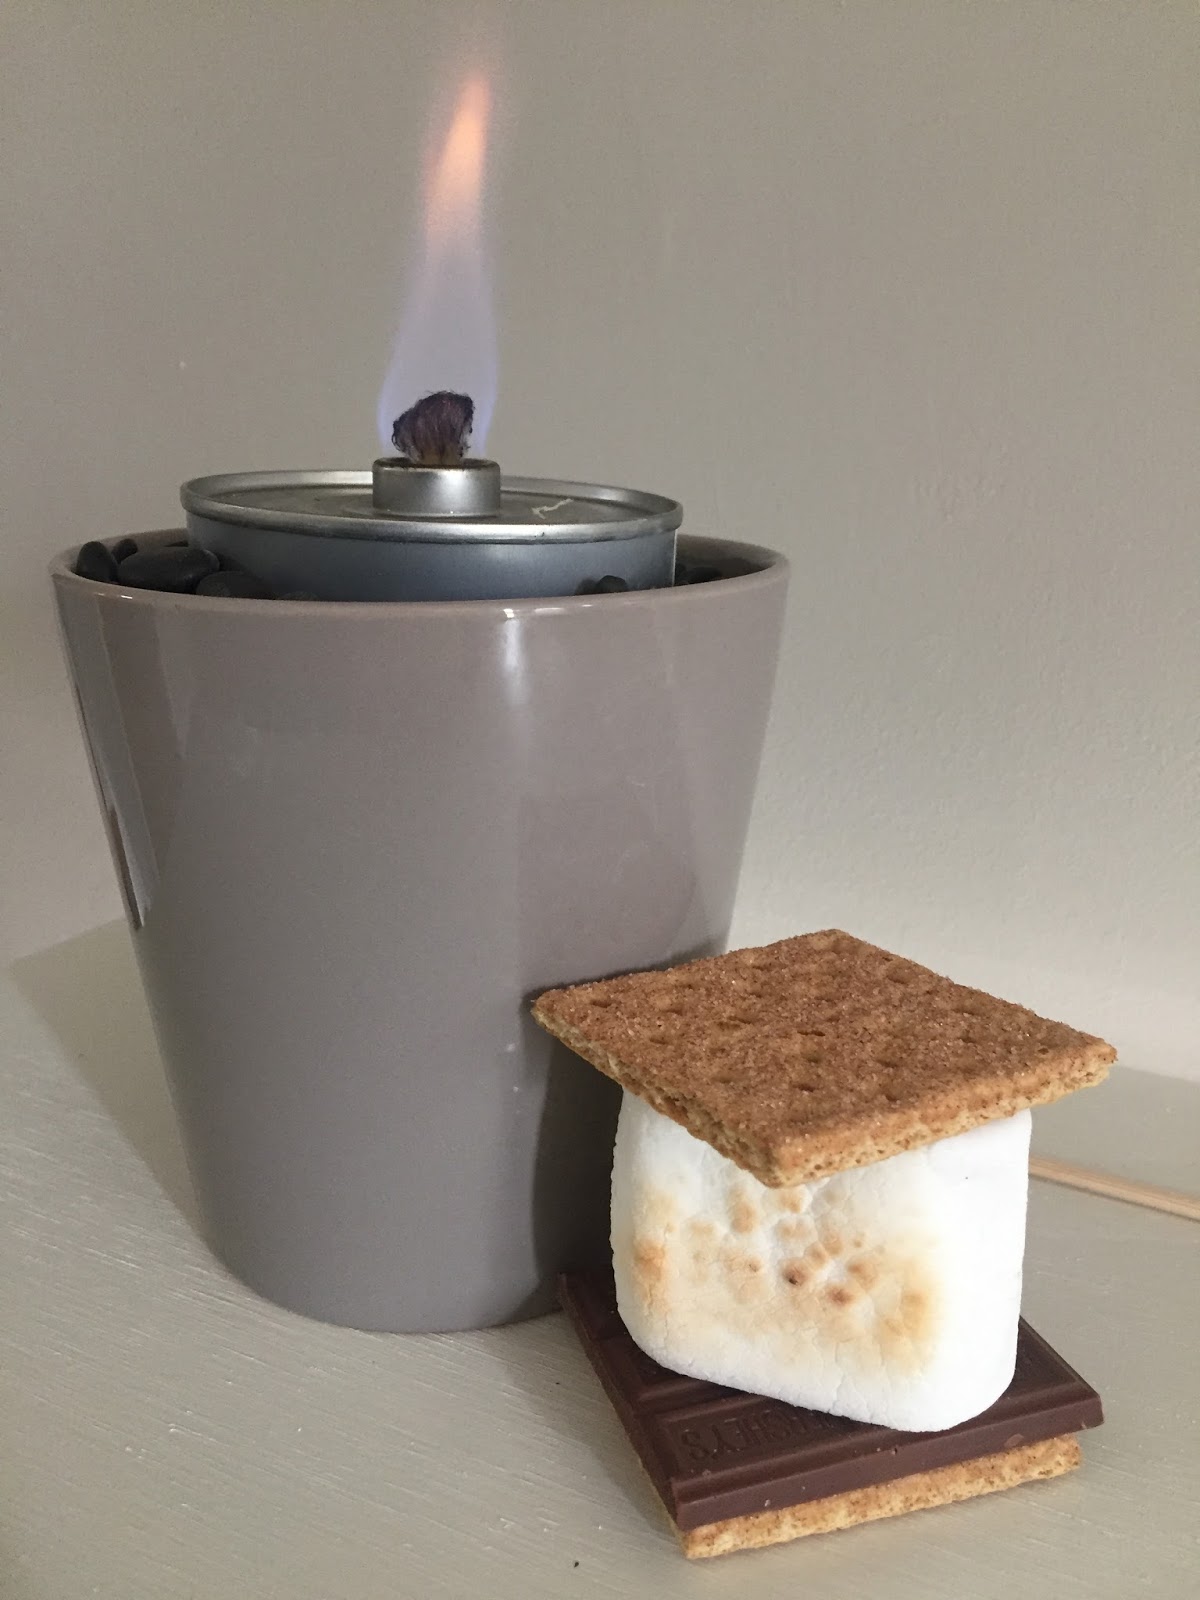
Now that it’s getting cooler outside, we have been enjoying smores, scary movies, and pumpkin lattes by the fire. But what if you don’t need a roaring fire going? Make a fire pit for two!
You will need a small pot, rocks, and chafing fuel can.


Fill the pot halfway with rocks. Then put the chafing fuel can in the pot. Fill around the sides of the can with smaller rocks.

 
Enjoy your DIY fire pit for two!


Happy Fall!


3 Ways to Boost your Front Door Appeal

Sunday, October 16, 2016

 
Our house sits up on a hill so you can't see it from the road. So much for curb appeal! At first I struggled with figuring out how to make my home stand out and feel more welcoming when people eventually found our house after getting lost or turning into our neighbor's driveway. These three simple steps will boost your front door appeal with minimal cost and effort.
 
1.       A doormat
 

2.       Potted Plants


3.       A Painted Front Door


I also got rid of  a lot of the weeds and overgrown plants in the front. (Our house was vacant for a while when we bought it).
 
What did you do to boost your front door appeal?


Chalkboard Easel

Sunday, October 9, 2016

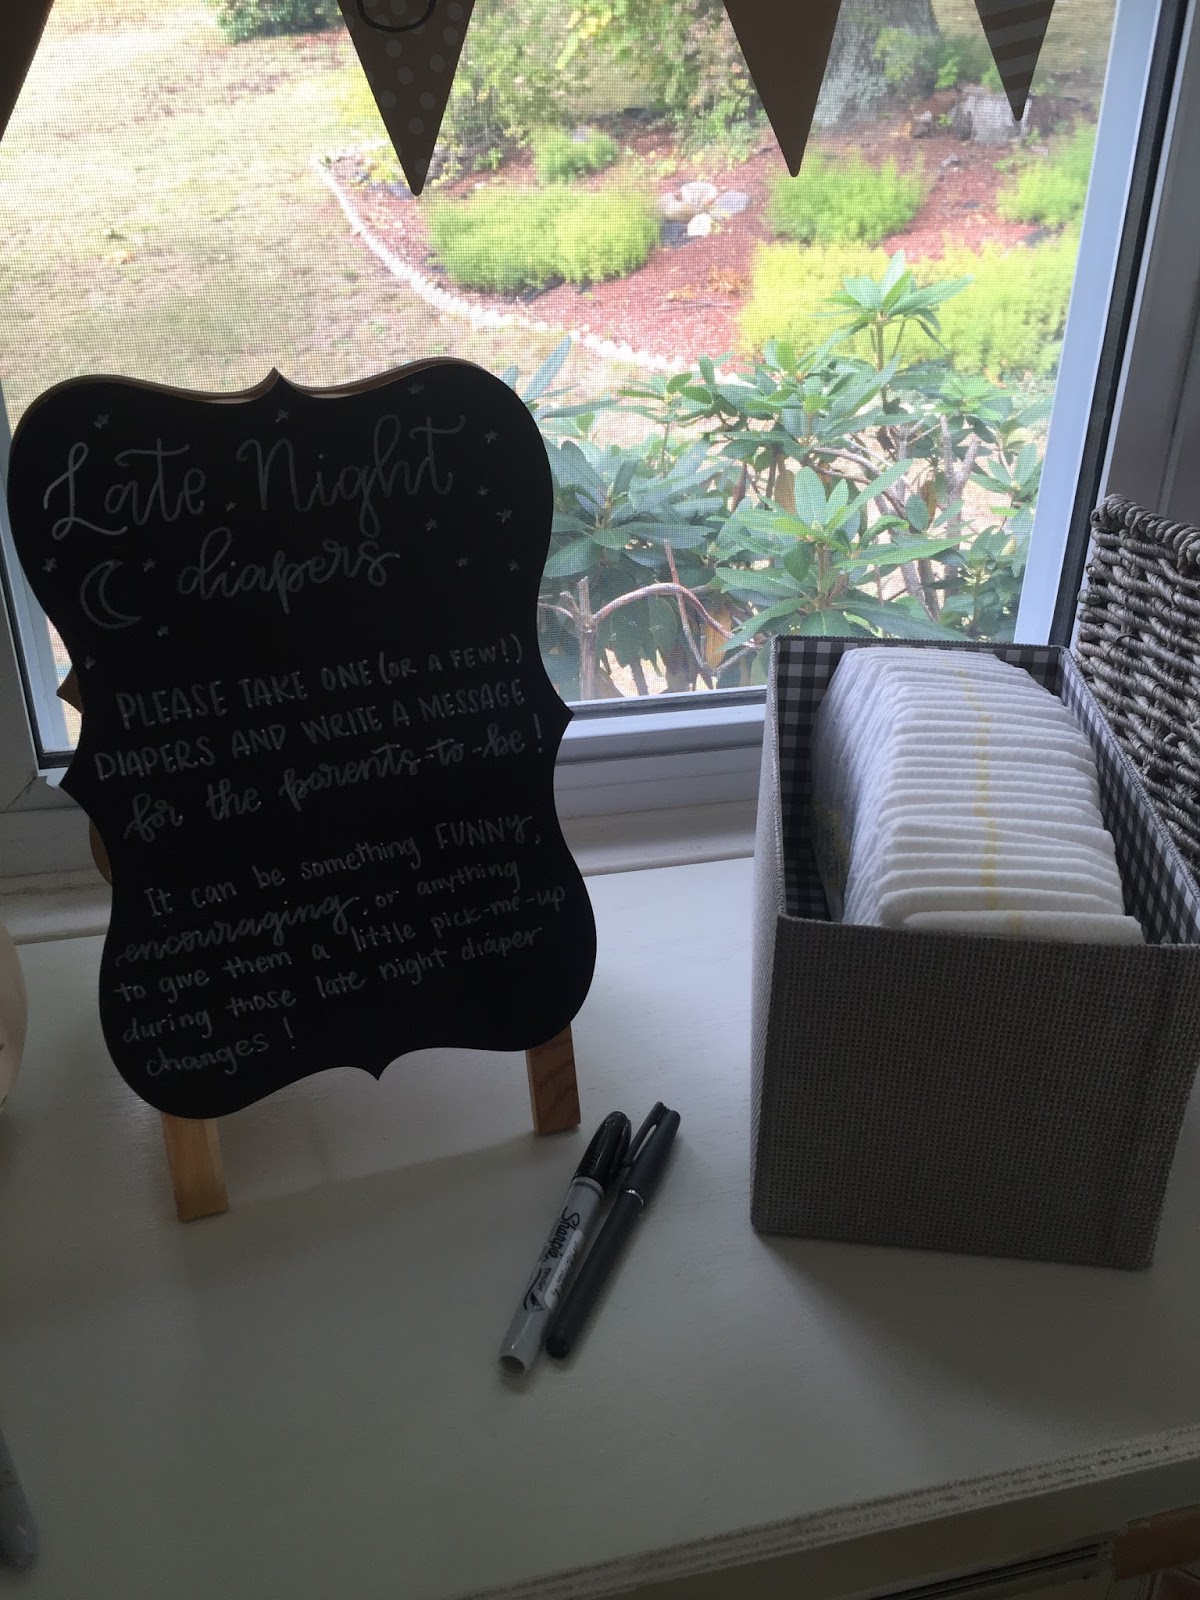
I was so honored to host our friend’s baby shower. I had intended on making this chalkboard easel in time for our housewarming party but naturally house things came up. I was happy to feature it at this fabulous fall coed shower. I followed these plans from Home Depot. Did you know Home Depot has a blog?! I sure didn’t.


Other Ideas for a Chalkboard Easel:
·         Display the menu/specials/signature drinks
·         Set up the daily itinerary
·         Write a message to your guests
·         Give seating instructions/directions
·         Promote your business
·         Keep the kids busy
·         Remind yourself of your to-dos
·         Encourage with inspirational quotes


DIY Lantern Wall Decor

Sunday, October 2, 2016

 
This simple rustic project will give dimension to the walls in your front entrance or hallway.


Make your own lantern décor with these four pieces:

·         Wood

I had leftover wood from previous projects but you can buy precut wood at Home Depot or cut it yourself to fit your lanterns. My lanterns were 14 inches tall and 5 inches wide so the wood fit well at 17 inches tall and 12 inches wide. Pictured here is the Minwax stain Red Oak.


·         Lanterns

I purchased these lanterns from Homegoods probably under $15. They originally had battery powered candles attached but I disassembled them and bought my own candles, you can see the empty hole on the bottom of the lantern where the candles used to be.


·         Hooks

I found these decorative wrought iron hooks at Hobby Lobby. This size was about medium (6 inches) compared to the others. Depending on how big your lanterns are and how far away you want them from the wall you may want a specific size hook.
 

·         Candles

Believe it or not these candles were being sold at the grocery store I go to. It was important to me to have the candles in jars as I didn’t want them to melt on the bottom of the lantern.


Pumpkin candles for the beginning of fall! Do you have any fall projects you're working on? Share them below!