Negative: Too many to-do lists.
Positive: Pretty Organization
How I made my positive:
Our garage is outfitted with a 6 by 3 foot whiteboard. We
have a Superbowl party and we use the board for squares.

The leftover pieces were made for my classroom so students
could use them for test review, group work, motivation for reluctant writers and beyond.
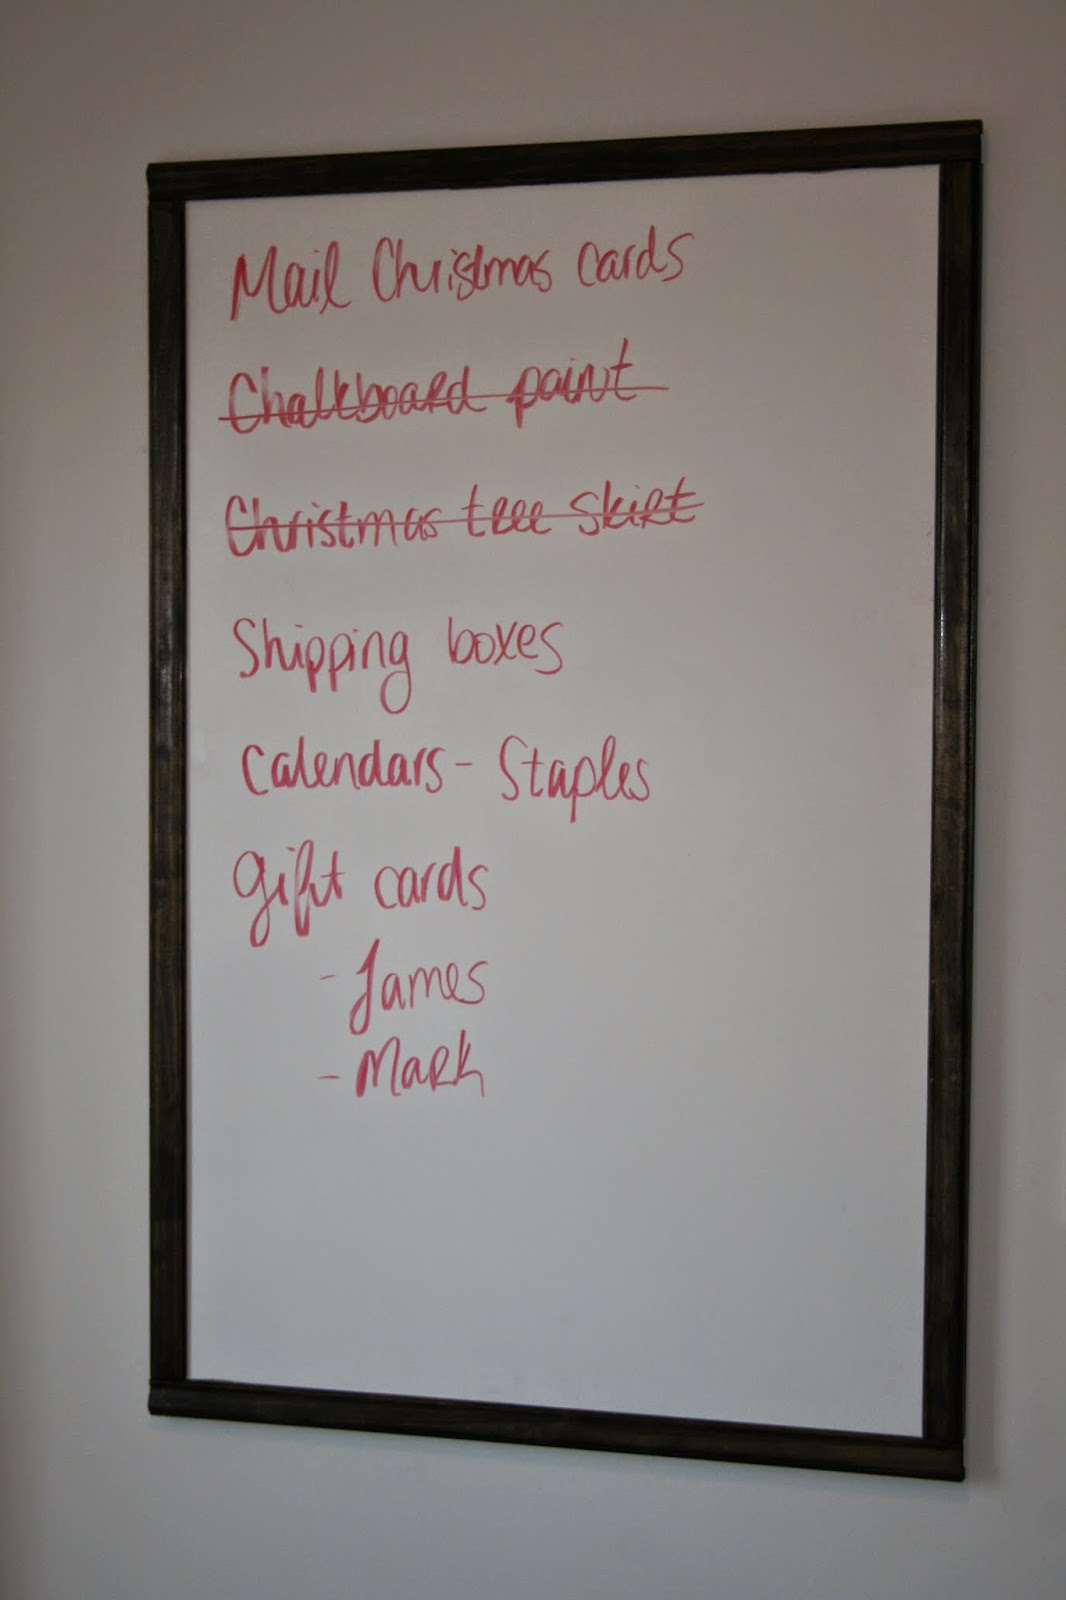
We had one giant leftover piece that we started to use for
our to-do lists, game night scores, and, in our household, the occasional
diagram that explains how planes fly. The edges were worn, and it sat on the floor most of the time. With no place for it to go, I knew we needed a change.

Before: Our whiteboard was used for game night tallies and
to-do list sorting. Ugly and inconvenient.
After: Board was already cut 2 by 3 feet. I purchased wood
trim with a groove in it, stained the wood, and then we placed the whiteboard
within the frame and glued with wood glue (gorilla glue), clamped it down, and
let it dry overnight.
 |
The wood was close to the color of the table below it before stain. The stain I used is called Espresso from Minwax. |
 |
The groove in the back made it easier to place the whiteboard inside of it. |
I wanted the option to remove the board if needed so I used
this bracket on the back.

What I love: It’s up on the wall where it belongs.
 |
You can see my ugly to do lists in the background on the fridge |
 |
Ugly checklists |

What I would change: The
stain color. Which I did! My advice with stain is to either
(a.) Stain a scrap
piece or somewhere hidden, or
(b.) Stain with a light coat, don’t keep the
stain on for very long and reassess the color after a day has passed.
I wanted
a darker color so I stained 5 times until I got the color I wanted. You can
always make it darker, but you can’t go backwards and make it lighter.

Status: Not for Sale
Do you have multiple check lists like I do? What’s your
solution?
No comments:
Post a Comment